Selling Wall Art Beyond Etsy: Amazon, Redbubble, Society6
I started selling posters on Etsy because it was simple and the audience was ready to buy. After a couple of years I realised Etsy alone was capping growth. My shop did well, but I kept hitting the same ceiling: a single traffic source, constant listing churn, and a lot of time wasted on mockups and uploads. If you want to actually scale an AI poster business, you have to get your products in front of different audiences and treat each platform like its own storefront.
This article is the practical playbook I wish I had when I first thought about branching out. I’ll tell you which formats to create, how to prep files, platform-specific listing tactics for Amazon, Redbubble, and Society6, and the fulfillment math that decides whether a platform is worth your time. I’ll also show you how I automate bulk uploads so I can spend time designing, not clicking. There’s no fluff here — just the steps I used to grow beyond Etsy and keep margins healthy while selling more pieces across multiple channels.
Why expand beyond Etsy?
Expanding to sell art beyond Etsy isn’t just about chasing more revenue — it’s about building a business that can survive shifts in traffic, policy, and market taste. Each platform has its own buyer behaviour, cost structure, and growth levers. When you layer those channels intelligently, you create compounding advantages: shared creative assets, diversified traffic sources, and experimental spaces to test pricing and formats.
More eyeballs, different buyer intent
Etsy buyers are dessert-first shoppers; they want unique, handmade-feeling items and are often willing to pay for curation. But Amazon, Redbubble, and Society6 each attract different types of buyers. Amazon pulls people who already intend to buy home decor and who search with commercial intent. Redbubble is driven by niche communities and fandoms. Society6 is design-first — people go there to discover artists.
What this means practically: a design that gets zero traction on Etsy could be a hit on Redbubble if it taps into a passionate micro-community. Conversely, a simple typographic poster that performs modestly on Redbubble might convert extremely well on Amazon because it targets people actively buying wall art. Treat each platform as a different channel in Facebook Ads or Google Ads — the same creative performs differently depending on the audience.
Examples:
- A minimal black-and-white botanical print was slow on Etsy but took off on Society6 after I curated a full ‘botanical study’ collection.
- A retro sci-fi poster failed to rank on Etsy but gained traction on Redbubble when a niche subreddit picked it up.
- A modern typographic quote sold steadily on Amazon after I adjusted the main image to show it in a living room.
The numbers game: listings and indexing
Etsy’s algorithm rewards volume. I learned that having hundreds of listings means more keyword coverage and more chance of hitting an impulse buyer. The same rule applies across platforms, but each one rewards different signals. Amazon rewards conversion and fast shipping. Redbubble rewards niche relevance and community traction. Society6 rewards strong artist profiles and repeat visitors.
A practical approach to the numbers game:
- Start with 20–30 focused listings per platform, rather than dozens of scattered experiments. Give each listing at least 30–60 days to gather data before changing core assets.
- Track impressions, clicks, conversion rate, and revenue per visit (RPV). Use those numbers to decide where to scale. If a listing converts at 4% on Amazon but 0.7% on Etsy, double down on the Amazon listing and test image/price changes on Etsy.
- Repurpose winners. When a design proves itself on one platform, port it to the others with platform-specific tweaks.
Risk control and brand reach
Relying on a single platform is risky. Shops can get hit by policy shifts, changes in fee structure, or sudden drops in traffic. When I moved 20% of my best sellers to Amazon and Redbubble, my monthly sales became more stable because the platforms respond differently to marketing and seasonality. Branching out also makes it easier to experiment with price, presentation, and size without wrecking your Etsy conversion rates.
Actionable risk-control checklist:
- Maintain backups of master files and original export dates.
- Keep a minimum cash buffer for 3 months of operating costs in case one channel dips.
- Track percentage of revenue by platform; aim to avoid any single platform ever exceeding 50% of total revenue.
- Maintain an email list or social channel to capture buyers off-platform — this is inexpensive insurance.
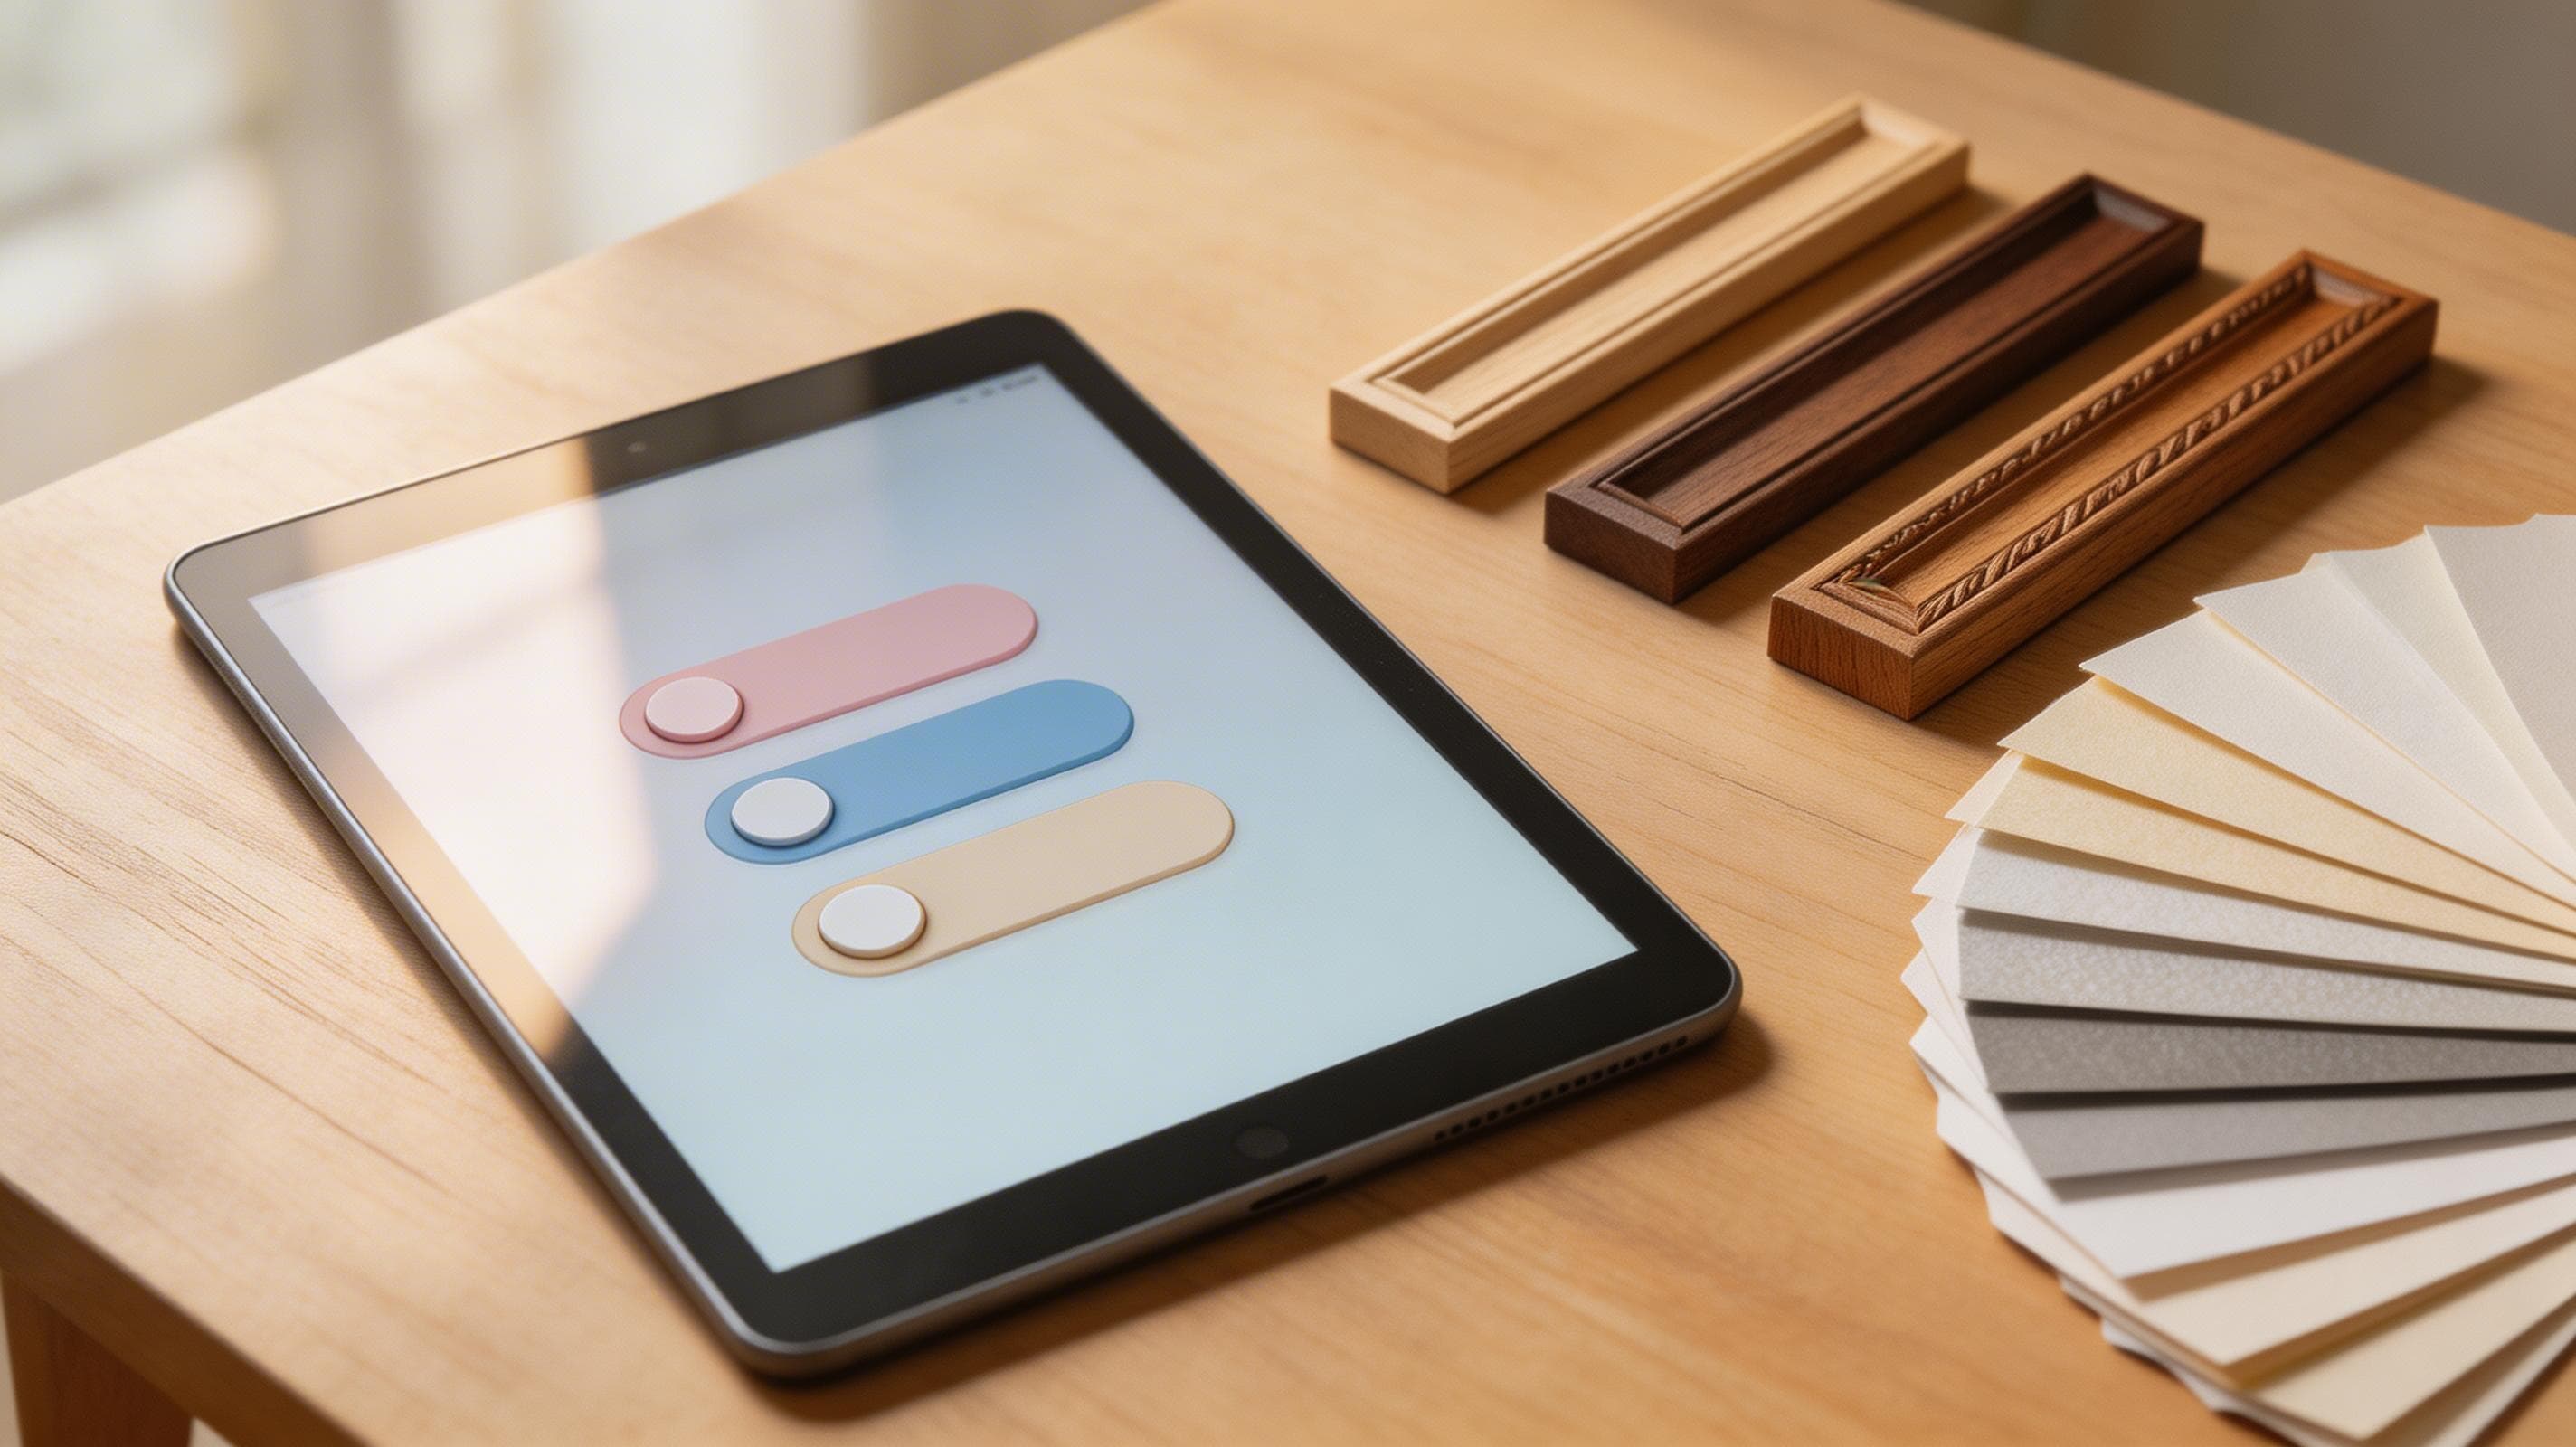
Clarify the deliverable — which format do you want?
Choosing the right product formats before you begin scaling will save time and keep operations manageable. When you sell art beyond Etsy and onto platforms like Amazon, Redbubble posters, and Society6, you’re exposing the same creative to different expectations. Decide your core formats and a premium variant and build a repeatable export pipeline.
Pick the formats that sell
Decide if you’re selling posters, framed prints, canvas, or digital downloads. I focus mostly on posters and framed prints because they’re cheap to ship and customers understand sizing. Posters sell well as impulse buys in the £12–£35 range depending on size. Canvas and framed options can be more profitable, but they also add complexity in file prep and fulfillment.
How to pick:
- If you want simplicity and scale quickly: focus on posters and digital downloads.
- If you want higher AOV (average order value) and better margins: offer framed prints and canvases as upsells or in your premium line.
- If you want to own the experience and brand: prioritize framed prints and packaged shipping solutions in your own store, while using POD for volume channels.
Product bundle idea: For each core poster design, offer (a) unframed poster, (b) framed poster, (c) digital print. Use the digital version as a low-cost entry to build email subscribers.
File format and resolution rules
Always work in 300 DPI for printables. Export TIFF or high-quality JPEGs with the exact pixel dimensions required by each platform. For example, a standard print size like 16x24 inches at 300 DPI is 4800x7200 pixels. Save a master layered PSD so you can quickly export variations for multiple sizes and crop ratios.
Technical checklist:
- Colour space: Work in Adobe RGB or ProPhoto RGB while editing, but export to sRGB for web and many POD platforms unless the provider explicitly supports a wider gamut. Some print providers accept ICC profiles — use them if they provide one.
- Bleed and trim: If you need bleed, add 3–5 mm depending on the printer specs; don’t wing it because trimming errors show as white edges on posters. For canvases, consider extra wrap area.
- File types: TIFF for lossless quality when you need it; JPEG at 90–95% quality for uploaded artwork where file-size limits apply.
- Metadata: Embed copyright and creator metadata in your master files so you can prove creation dates.
Naming and version control
Name files clearly: designname_size_paper_finish_date.jpg. I keep a simple folder structure: /Masters, /Exports/Amazon, /Exports/Redbubble, /Exports/Society6. That makes re-exports fast and predictable. When you start scaling to dozens of designs, this organisation saves hours because you won’t be guessing which file matches which product or mockup.
Example folder layout:
- /Masters/2025-04-01_summer_botanica.psd
- /Exports/Amazon/summer_botanica_16x24_poster_sRGB.jpg
- /Exports/Redbubble/summer_botanica_24x36_PRINT.jpg
- /Exports/Society6/summer_botanica_square_gallery.jpg
Version control tips:
- Use date stamps in filenames for quick rollback.
- Keep a CSV that maps design slug to file names, keywords, and launch dates.
- Consider a lightweight DAM (digital asset management) tool or even a disciplined Google Drive structure if you collaborate.
Amazon wall art: what actually works
If you want to sell art beyond Etsy and tap into a high-intent buyer base, Amazon wall art is an essential channel. Amazon visitors are actively searching for home decor solutions; they expect product clarity, accurate sizing, and reliable delivery. But they also demand high-converting product listings, so the setup work is heavier.
Picking the right Amazon route
Amazon has a few ways to sell: Merch (mostly apparel), Seller Central using print-on-demand partners, and Amazon Prints integrations. For wall art you’ll probably use Amazon Seller Central with a POD partner that integrates with Amazon or leverage a service that will handle Amazon listing and fulfillment for you.
Options and when to use them:
- Amazon Seller Central + POD partner integration: Best when you want control over pricing, ASINs, and A+ content. You’ll manage the product page and can run Sponsored Product ads easily.
- Third-party fulfillment services that list on Amazon for you: Easier to start but less control; watch fees and inventory lead time.
- FBA (Fulfilled by Amazon) with pre-printed inventory: Highest conversion potential because of Prime, but requires upfront capital and inventory management.
I recommend Seller Central if you want control over pricing and product options because Merch isn’t focused on posters. Choose the route that gives you the most control over product pages and images because conversion on Amazon relies heavily on that.
File specs and image strategy
Amazon buyers expect a clean main image and several lifestyle images. Use a white background for the main product image and high-resolution lifestyle mockups for additional images. Amazon likes large pixels; export at 2,000 px on the longest side for product images. Include close-ups of paper texture if you offer premium paper.
Image checklist for Amazon wall art:
- Main image: white background, product centered, no props, true-to-size framing.
- Lifestyle image: 1–2 room scenes showing scale. Use corner cases: tiny bathrooms, feature walls, gallery-style groupings.
- Detail image: texture, paper edge, frame detail.
- Spec image: size chart that shows physical dimensions and recommended hanging height.
Practical tip: add a small text overlay in one carousel image that states "Ships framed or unframed" or list size variants. This reduces pre-purchase questions.
SEO and paid discovery on Amazon
Amazon search is a conversion-driven beast. Your title must include the primary keyword like “modern botanical poster 16x24” because Amazon uses exact-match signals heavily. Use backend search terms to pack in synonyms and long tails.
Ad and pricing playbook:
- Price competitively; for an A2 poster I aim for £24.99 on Amazon if the POD partner’s cost is around £11.50 because that leaves room for fees and ads.
- Use Sponsored Products for new listings with a daily test budget of £5–£10 for 10–14 days. Optimize by ACOS (advertising cost of sales) and conversion rate — if ACOS > 25% and conversion < 2%, revisit images and title.
- Use A+ Content (if you qualify) to add richer visuals and brand story.
Conversion optimization tactics:
- Highlight quick shipping in bullet points and provide estimated delivery dates.
- Use reviews strategically: seed a few early reviews by sending discount codes to newsletter subscribers and asking for honest feedback.
- Implement a pricing ladder: £19.99 for standard paper, £34.99 for framed. Higher-priced framed options often convert because perceived value is higher.
Redbubble posters: niches and community traction
Redbubble posters are a great place to test creative risk and niche hooks because the platform amplifies community-driven discovery. If your goal is to sell art beyond Etsy and find bleeding-edge microtrends, Redbubble is high-leverage.
Who shops on Redbubble
Redbubble customers are niche and discovery-driven. They search fandoms, themes, or artist names. That makes it a strong platform for designs that target clear micro-audiences — botanical lovers, minimalist typographers, sci-fi fans. I treat Redbubble as a testing ground for designs that speak to communities because a single viral tag can push a design into thousands of visits.
Community marketing tactics:
- Use platform tags accurately — think of them as micro-keywords for fandoms.
- Engage with communities off-platform: share Redbubble links in relevant forums, subreddits, and Discord channels. One post with a good visual can generate a spike.
- Use limited drops or themed collections timed to conventions, anniversaries, or fan content windows.
Pricing and margin considerations
Redbubble controls base pricing and takes a cut; you set the margin. The platform is easy to use but you sacrifice some margin compared to your own store or Etsy. I usually set a modest markup so the final price sits in the sweet spot for the niche. For posters that means keeping retail under £30 where possible.
Porting successful Redbubble designs:
- If a design does surprisingly well, port it to your shop and to Amazon where you can increase margin without losing volume.
- Use Redbubble as a proof-of-concept: high ER visits and good conversion signals mean the design can likely command higher prices in your own branded store.
A concrete example: a fandom poster that sold 120 copies on Redbubble in a month at £18 retail was moved to my own site and Amazon at £29 — it sold steadily at the higher price because audience trust and product presentation were improved.
File prep and mockups for Redbubble
Redbubble accepts large PNGs with transparent backgrounds for some products; for posters a flattened high-resolution JPEG works best. Upload at the largest size Redbubble allows to avoid compression artefacts. Use a clean room mockup and one or two styled scenes to communicate scale.
Mockup tips:
- Use a square gallery image for social sharing — it performs better on Instagram and within Redbubble’s internal feeds.
- Include a mockup with hands or a person near the artwork to show scale if the design is small.
- Cross-sell in the design page: show the same artwork on throw pillows, phone cases, and tapestries if it fits the aesthetic — this increases AOV.
Society6: design-first buyers and artist profiles
Society6 is more curated and artist-focused than other POD platforms. When you list there, you’re selling into an audience that values artist storytelling and consistent presentation. If you want to build a recognisable creative identity while you sell art beyond Etsy, Society6 is a valuable channel.
What makes Society6 different
Society6 is artist-focused. People come for curated design and the artist story. Your artist profile and collections matter here because users will browse your page, not just a single listing. That means consistent branding and presentation pay off. I use Society6 for my more stylised pieces that benefit from being in a curated environment and that match their audience’s taste for modern, design-led homeware.
Profile-building tactics:
- Create themed collections that tell a visual story — e.g., "Urban Botanics" or "Noir Cityscapes".
- Use a consistent colour palette and typography for collection preview images.
- Link to your personal site or Instagram to capture followers and create another discovery channel.
Pricing structure and royalties
Society6 sets base prices for prints and you earn a fixed artist margin or a percentage depending on the product. That makes pricing simpler but reduces control. I price more aggressively on my own store and on Amazon where I can set retail prices. If Society6 shows a design getting traction, I use that as a validation signal and then move a higher-margin version to my shop or Amazon.
Practical approach:
- Use Society6 to validate visual direction rather than as your highest-margin channel.
- When a design gets traction, create a premium variant (better paper, signed edition, framed option) for your store.
Presentation tips for Society6
Build a coherent gallery. Upload full-size images for prints and at least three gallery images that show size and lifestyle. Use the profile bio to tell a short creator story. People on Society6 want to support artists. A natural disclosure about AI's role in your process can win trust; in practice Etsy disclosure isn't enforced, but offering transparency helps sales on community-driven platforms like Society6.
Presentation checklist:
- Minimum three high-quality images per listing: full art, in-room mockup, close detail.
- A short artist bio (50–100 words) that explains inspiration and process.
- Regularly refresh collections seasonally — Society6 users return for new drops.
Fulfillment partners and the pricing math
Fulfillment choices determine whether expanding to multi-platform POD is profitable. Your POD partner’s base cost and shipping determine your floor price and therefore how aggressive you can be with ads and discounts.
Why POD partner choice matters
Your profit depends on the POD partner more than any other single factor because production cost plus shipping defines your margin. For posters I recommend Printshrimp; they beat other providers on poster pricing because they include shipping and offer museum-grade paper without extra fees. For example, an A1 poster from Printshrimp is about £11.49 including shipping, which lets you sell at £34.99 and still pocket £20+ after fees. That kind of margin makes scaling worth it because you can afford paid acquisition and more mockup tests.
Metrics to calculate before listing:
- Gross margin = retail price - POD cost - platform fees - shipping subsidies.
- Breakeven ACOS = (Gross margin) / (Retail price) * 100. This tells you the highest percent of sales you can spend on ads and still break even.
Example math: Retail price: £34.99 POD cost: £11.49 Platform fees (average): £6.50 Net before ads: £34.99 - £11.49 - £6.50 = £16.99 If you want a 30% margin to cover ad spend and reprints, you need to keep ad spend below ~£5 per sale.
Comparing Printshrimp, Printful, and Printify
I tested all three on the same design. Printful had reliable quality but higher base prices and shipping. Printify’s costs varied by provider; you could find a cheaper printer, but quality and shipping times varied. Printshrimp gave the best cost-to-quality ratio for posters when shipping was included. That meant I could list the same design across platforms and not worry that one platform’s fulfillment cost would destroy my margin.
Provider comparison table (summary):
- Printful: quality + integration ease, higher cost.
- Printify: variable pricing, variable quality.
- Printshrimp: aggressive pricing, included shipping, great poster paper.
Choosing a partner:
- Consider location: European printers reduce VAT and shipping times for EU/UK customers.
- Consider production time: if a provider takes 10–15 days, that will hurt Amazon conversion.
- Consider return policy: POD returns handled poorly can erode margins.
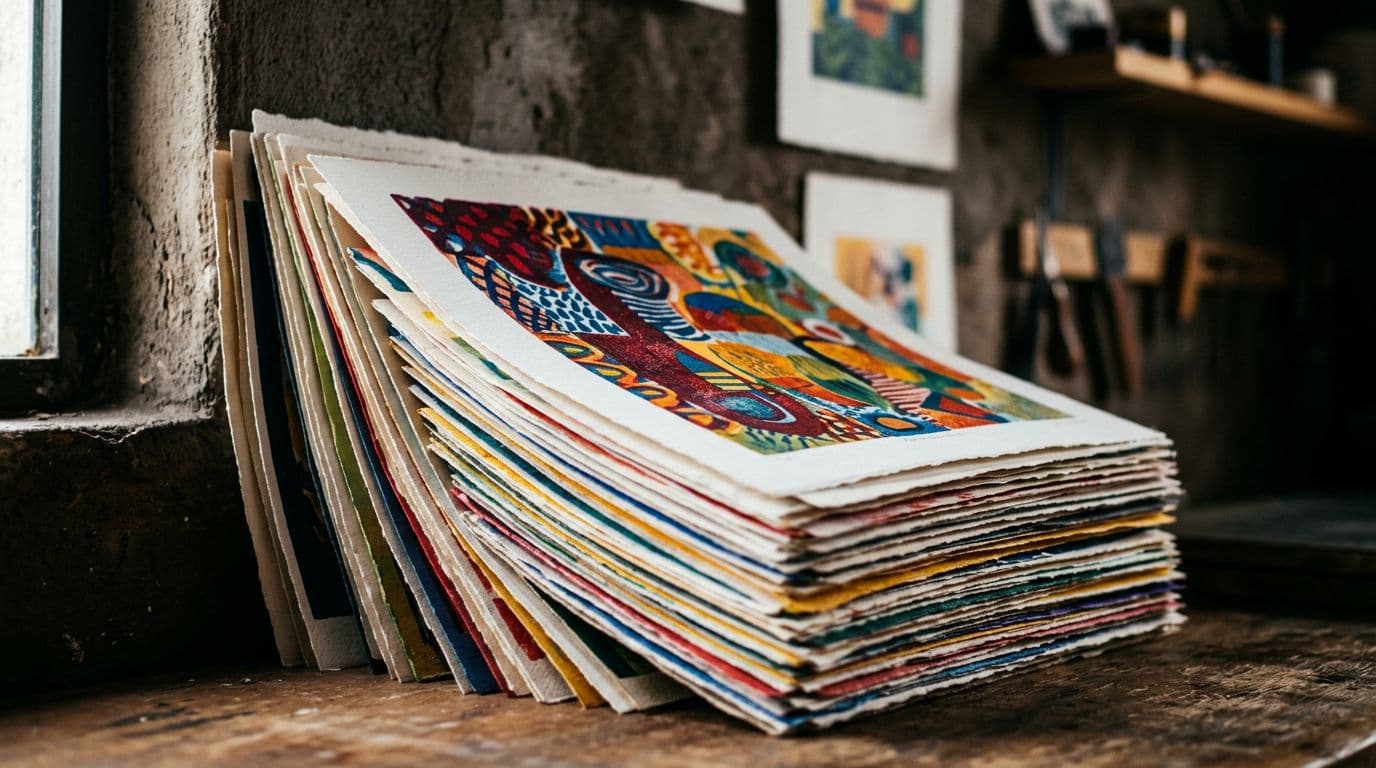
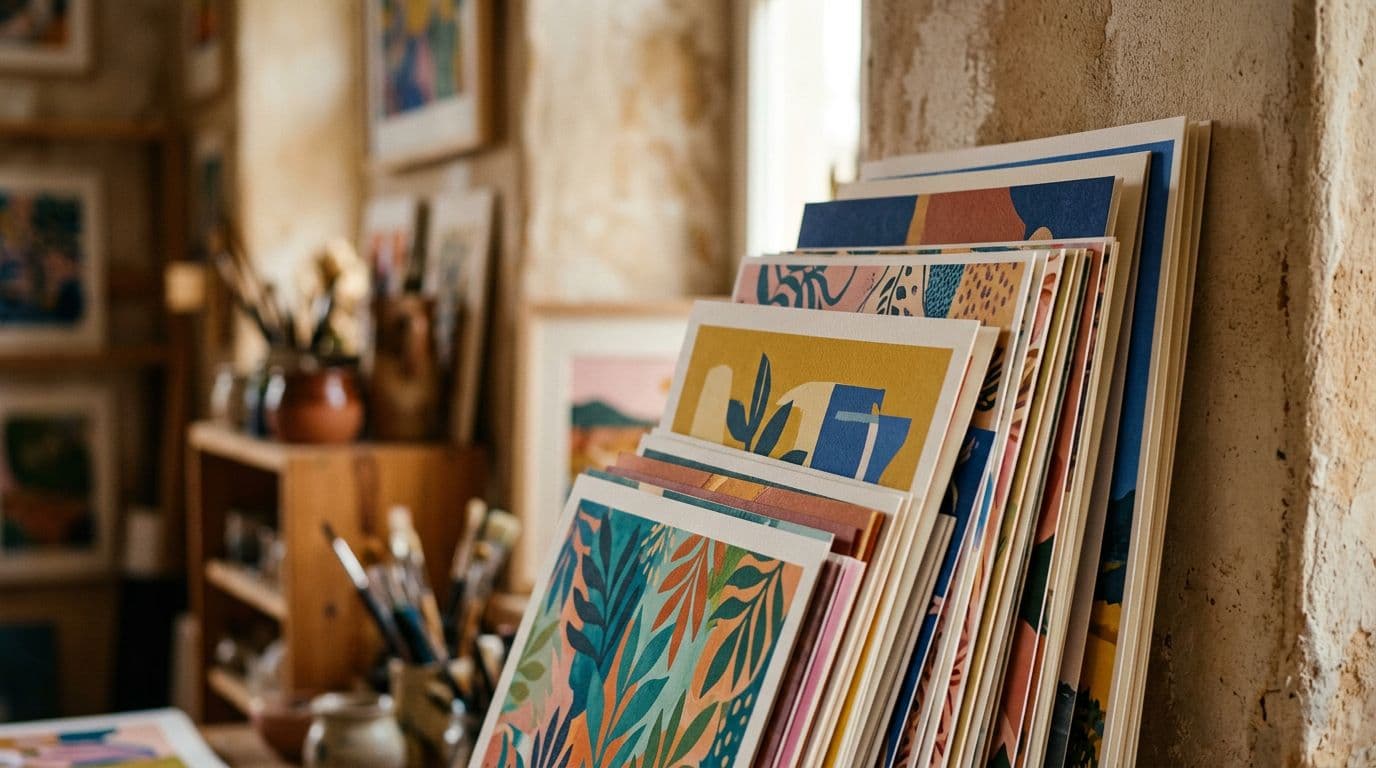
Samples, quality control, and returns
Order samples before you list widely. I order a 16x24 and a 24x36 for every new print and check colour, trim, and paper weight. If you see colour shifts, adjust your export profile or use a soft-proof if the provider supports it. Factor a quality-control buffer into your pricing: unexpected reprints and returns happen, so price each item to keep at least a £6–£10 margin after a single reprint cost.
Sample QA checklist:
- Colour match to screen within reason — note which colours shift consistently and record ICC conversions.
- Cropping and trim check — watch for white borders.
- Paper weight and finish — matte vs satin reflectivity.
- Packaging integrity — make sure edges are protected and corners reinforced.
Returns policy:
- Decide whether to offer easy returns or a more restrictive policy that factors in POD costs.
- For Amazon, returns are expected — include that in pricing math.
- For other channels, offer a buy-back policy or discount-based credits to reduce full-returns.
Scaling listings and automation without losing control
Scaling is where many sellers fail: they automate too quickly and lose quality, or they never automate and burn out. The middle path is to automate repetitive tasks while keeping quality gates.
When automation pays for itself
If you’re uploading more than five listings a week, automation starts making sense. Manual mockups and CSV uploads eat hours. I reached a point where I spent 20 hours a week just creating listings. That’s when I started automating. Automation lets you test variations quickly and scale winners. It also forces you to be disciplined about assets and naming because the system needs predictable inputs.
Automation ROI example:
- Manual: 2 hours per listing x 20 listings = 40 hours.
- Automated pipeline: 15 minutes per batch of 20 = 0.5 hours.
- If you value your time at £25/hr, automation saves nearly £975/month on 20 new listings.
Tools and a real workflow I use
I automated mockups and uploads using a mix of custom scripts and tools. For mockups, I build layered PSD templates and batch-render room scenes. For listing, I use bulk CSVs where possible and an automation layer that fills titles, tags, and descriptions from templates. This is exactly why we built Artomate — to automate the mockup-to-listing pipeline so you can focus on design. With automation, I can push 50 variations in the time it used to take to do three.
A reproducible workflow:
- Design master in PSD with named smart objects for paper, frame, and background.
- Export master files and generate size-specific JPGs via script.
- Batch-render mockups in three styles: clean room, lifestyle, and detail.
- Fill a CSV template with metadata: title, platform-specific tags, description blurb, price, ASIN (if relevant).
- Use platform APIs or upload UIs to push listings in batches. For Redbubble and Society6 you’ll need to manually confirm product toggles; for Amazon Seller Central use the flat-file templates.
CSV metadata example fields:
- slug, title_amazon, title_rb, title_s6, tags_rb, tags_s6, price_amazon, price_rb, price_s6, main_image, lifestyle1, detail1, size_options
Avoiding automation pitfalls
Don’t automate garbage. If you automate titles and tags without thinking about relevance, you’ll get low conversion and wasted impressions. Always review a sample batch manually to make sure the SEO templates sound human and references are accurate. Also automate in stages: first mockups, then descriptions, then uploads. That gives you checkpoints where you can stop and fix problems before they multiply.
Common automation mistakes:
- Poorly generated titles that read like keyword spam.
- Wrong image aspect ratios for specific product variants.
- Missing size or shipping information in listings.
Automation QA checklist:
- Randomly sample 10% of automated listings for visual and textual quality.
- Keep a rollback plan to remove sets of listings if metadata errors surface.
- Monitor conversion closely in the first 14 days after bulk upload.
Cross-platform SEO and listing strategy
Cross-platform listing strategy is about adapting, not copy-pasting. Treat each platform like a different storefront with different buyer intents and ranking algorithms.
Treat each platform like a different store
Keywords that work on Etsy don’t always work on Amazon or Redbubble. Amazon values exact-match and purchase-driven keywords, Society6 values curated design terms, and Redbubble rewards niche and fandom tags. Reuse assets like mockups and descriptions, but rewrite titles and tags for each platform. I keep a master keyword sheet where I map each primary keyword to platform-specific variants so I don’t repeat mistakes.
How to build the master keyword sheet:
- Column A: primary seed keyword (e.g., "botanical poster")
- Column B: Etsy variant (story-focused)
- Column C: Amazon variant (size, material, intent-driven)
- Column D: Redbubble tags (niche/fandom)
- Column E: Society6 terms (design, style)
Use search tools: Amazon's auto-suggest, Redbubble search, Etsy rank tools and Google Trends to find seasonality.
Titles, tags, and the first 160 characters
On Amazon your title should contain the most important terms and size dimensions because shoppers skim fast. On Etsy you have more room for a story. On Redbubble and Society6 tags matter; fill them with relevant niche tags rather than generic words. The first 160 characters of a description often show up in search previews or social shares, so put the most persuasive sentence there — a short line about what makes the piece special and the scale it works at.
Examples of platform-specific titles:
- Amazon: "Modern Botanical Poster 16x24 – Matte Paper, Ready to Frame"
- Redbubble: "Retro Space Travel Poster — Fandom Illustration, Sci-Fi Print"
- Society6: "Noir Cityscape | Limited Edition Fine Art Print by [Artist Name]"
Images, CTR, and conversion
Images are the biggest conversion driver. Use a clear main image, a lifestyle mockup that shows scale, and a detail shot. On platforms with less native traffic, like your own store or Amazon, paid placements will get impressions but images sell. I test two main images per listing and keep the higher-performing one.
A/B testing framework:
- Run two variations for 14 days each with similar budgets.
- Track CTR and conversion separately: a higher CTR with low conversion means the image promises something the listing doesn’t deliver.
- Swap the losing variant’s second image into the winner to see if composite improvements occur.
Image checklist to increase CTR:
- High contrast between art and background.
- A lifestyle image where the art fits the room’s colour palette.
- A scale reference — hands, people, furniture.
Legal, copyright, and AI disclosure
As AI tools become part of design workflows, legal questions arise. Selling across multiple platforms increases exposure to takedowns and rights claims, so be proactive.
AI-generated art and the practical reality
Etsy says sellers should disclose AI use, but enforcement is practically non-existent as of 2026. I still add a short line about AI assistance for transparency on marketplaces where the audience cares about the process. On platforms like Amazon, mention materials and sizes first and keep process notes in a seller FAQ. Transparency builds trust, especially on Society6 where buyers connect with artists.
Suggested disclosure language: "Created with a combination of original illustration and AI-assisted tools. Colours and finishes may vary slightly in print."
Why disclose:
- Builds trust for buyers who care about process.
- De-risks arguments in a takedown where provenance matters.
- Helps build your brand narrative for platforms like Society6.
Avoiding infringement and trademark problems
The biggest legal risk isn’t AI; it’s using someone else’s trademark, photo, or a recognisable character. I run a quick trademark search for obvious brand names and avoid any design that includes text or imagery tied to protected IP. If a design references a public figure, check likeness rights. When in doubt, alter the concept so it's inspired by a trend rather than copying a logo or character. That’s how I keep listings live and avoid takedowns.
Practical checks:
- Run a reverse-image search if you used reference photos.
- Avoid textual phrases that are trademarked (e.g., brand slogans).
- Be careful with stylised versions of characters or logos — transformative use is risky in marketplaces.
Handling takedowns and disputes
Have a process for takedowns: pull the listing, review the claim, gather source files and proof of creation, and respond calmly. Keep records of your prompt history, reference images, and export dates. If a platform requires it, provide a statement of authorship. That documentation is often enough to resolve disputes quickly because most claims are made by automated systems and not by someone who has legal standing.
Dispute response template:
- Acknowledge the notice quickly.
- Provide creation files and timestamps.
- Offer constructive edits to the design if the claimant is willing to negotiate.
Final Thoughts
Expanding beyond Etsy is a slow burn, but it’s the only reliable way I found to scale an AI poster business without burning out. Each platform brings a different audience and different rules. Amazon rewards conversion and paid discovery, Redbubble rewards niche viral hits, and Society6 rewards curated design. Pick the right formats, standardise your files, pick a POD partner that preserves margin — Printshrimp has been one of my favourites for posters — and automate the repetitive parts so you can keep designing.
If you’re serious about scaling, start with a small batch of winners and roll them out across two platforms, measure what converts, and then scale what works. Automation tools like Artomate will save you time when you’re ready to move from dozens to hundreds of listings. Build the muscle of testing, measure the cost per sale, and let the platforms diversify your revenue so you’re not betting everything on one storefront.
Parting checklist to get started this month:
- Choose 5–10 strong designs to port off Etsy.
- Export master files in the three most requested sizes and create three mockups per design.
- Order one sample per POD partner you intend to use.
- Upload to one new platform (start with Redbubble posters or Society6) and one high-intent platform (Amazon wall art via Seller Central) and run ads for 2 weeks.
- Track conversion, ACOS, and gross margin and decide which platform to scale by week 6.
Selling on multiple channels — Amazon wall art listings, Redbubble posters, and Society6 galleries — is not just about volume. It’s about learning different buyer intents, optimising assets for each storefront, and choosing fulfillment partners that keep your margins healthy. Do that well, and you won’t just sell more art — you’ll build a sustainable business that can weather changes and grow beyond a single platform.

George Jefferson
Founder of Artomate
George has generated over £100k selling AI-generated posters on Etsy and built Artomate to automate the entire print-on-demand workflow. He writes about AI art, Etsy strategy, and scaling a POD business.
Learn more about me →