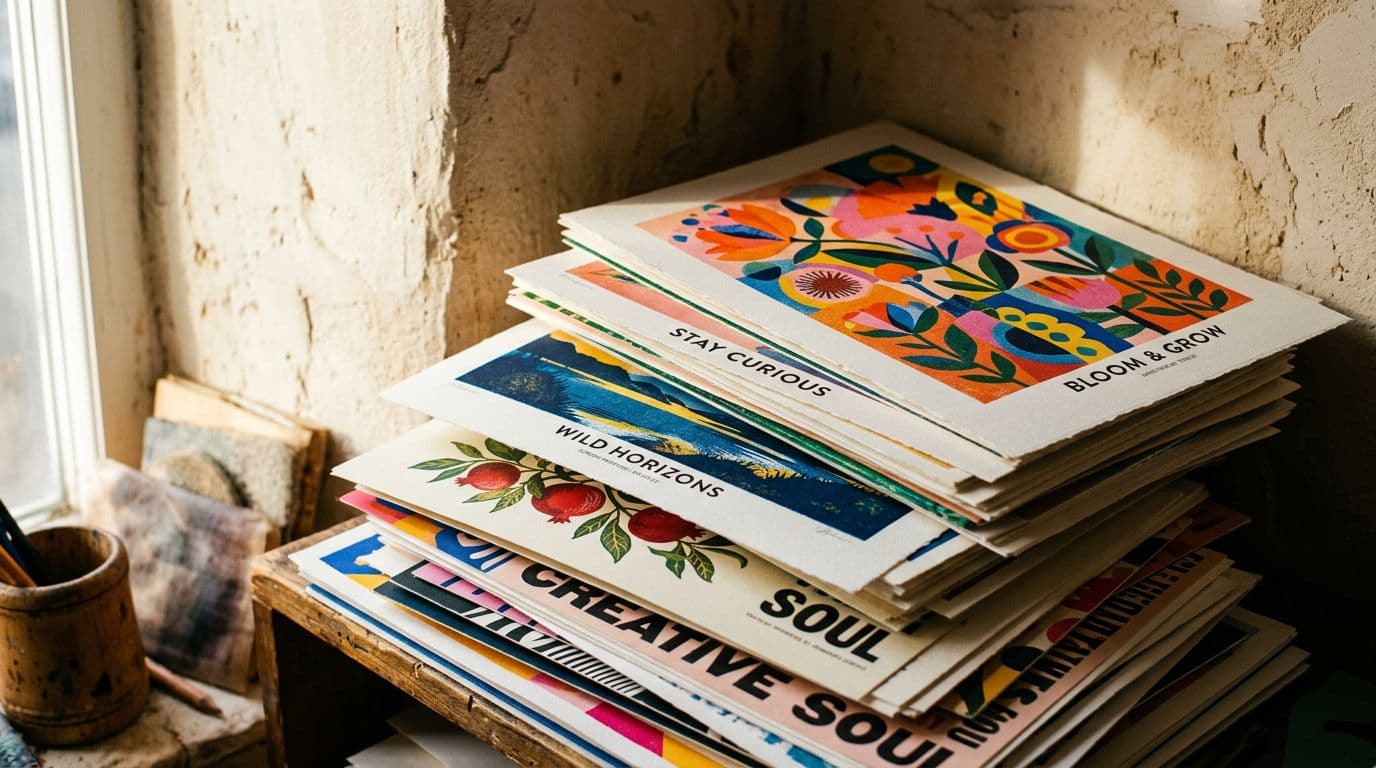
Print-on-Demand Poster Quality: DPI, Colour & File Formats
I remember the first time a customer messaged me saying the text on a poster looked soft and washed out in person. I’d spent hours on the design, used the latest image model, and uploaded what I thought was a high‑quality file. The problem wasn’t the art or the mockup — it was the file I handed the printer: too low in pixels, wrong profile, no bleed, and a JPEG compressed like it was meant for Instagram. That single message cost me a five‑star review, a return, and a lesson that stuck.
If you sell posters on Etsy with print on demand, poster print quality is one of the few things you can control that directly affects conversion, returns, and your shop’s reputation. Get the DPI for posters, colour profiles printing, and print on demand file formats right, and you’ll ship prints that match buyers’ expectations. Get them wrong and you’ll face refunds, bad photos, and listings that don’t convert. Below I walk through what I actually do in my shop, why I do it, and the exact settings and checks that have stopped those “soft text” messages once and for all.
Why technical quality matters for Etsy and POD sellers
I say this bluntly: technical quality is not optional if you want to scale. Etsy’s search is increasingly sensitive to conversion and listing quality because that’s how the marketplace keeps buyers coming back. If your thumbnail promises sharp, vivid posters but the delivered product is dull or fuzzy, buyers click away or complain. That costs you more than a single refund — it lowers your conversion rate and pushes your listings down in search because the algorithm reads those signals.
When I started, I assumed POD partners handled the hard stuff. They do some of it, but many print partners accept sRGB uploads and then convert on their backend. That conversion can shift saturated reds or make blacks look grey if you didn’t embed an ICC profile or proof the file. I learned to treat every upload as a production file, not a social image. Here’s why.
First, buyers inspect posters closely once they decide to buy because posters are decorative and tangible. They notice crisp edges in typography and faithful colour, because those details define perceived value. Second, returns and negative reviews compound. One bad print can tank a listing’s performance. Third, mass‑listing strategies still work on Etsy, but quantity without quality costs money. You can list 500 designs, but if your prints look poor, you’ll waste ad spend and time.
So focus on DPI for posters, colour profiles printing, and correct file formats from the start. Those three choices determine whether the POD can reproduce your art faithfully. Do the math, choose a POD you trust, and proof the first run. That’s what saved my shop, and it will save yours.
Why 300 DPI became my default
I use 300 DPI at final trim for any poster that will be viewed at arm’s length. That’s because 300 DPI at the final size gives the printer enough pixels to render fine detail and crisp type. I’ve tested 150–200 DPI for large murals and wall wraps that sit across a room, but for framed or close‑view art 300 DPI keeps buyers happy.
What happens when you ignore colour profiles
Upload an untagged sRGB image to a POD that expects a specific CMYK profile and you’ll often see hue shifts and lost saturation. I learned this the hard way on a sunset print; the oranges turned brown. Now I ask for the POD’s ICC or convert to their profile and always embed it on export. It avoids surprises.
The real cost of a bad file
A single reprint plus a refund eats away profit quickly. On a £34.99 poster sold through a POD like Printshrimp, you can expect £20+ net if everything goes right. A reprint, a refund, and a negative review can turn that into a loss. Better technical preflight prevents that.
Current market trends that affect poster quality decisions
The market has shifted fast in the last two years. AI image models are now a standard part of the creative process, and many sellers use them to generate final art. That’s great for variety and speed, but most image generators still export images optimized for screens, not print. I’ve seen sellers post beautiful mockups online only to find the print version looks wrong because they didn’t rework the AI output for print.
Etsy’s fee structure remains familiar — $0.20 listing fee, 6.5% transaction fee, and payment processing. What changed is enforcement and expectation. Etsy has tightened moderation around origin and human contribution, and while AI disclosure enforcement has been uneven, being transparent about provenance helps avoid problems. Documenting prompts, model versions and edits is a habit I keep now because it protects my shop and speeds dispute resolution.
Conversion behaviour also matters. Most shops I track hover around 1–3% conversion, but quality thumbnails and accurate product images push the conversion higher. That’s why good poster print quality is also an SEO play. Better product images convert more, which feeds Etsy’s ranking signals, which in turn brings more buyers.
Print partners vary wildly. Some accept sRGB and convert. Others want CMYK. Contract or offset print will always demand CMYK and a specific ICC like ISO Coated or GRACoL. For my poster SKUs, I favour a POD that offers transparent pricing and quick dispatch so I don’t bleed cash on samples and returns. That’s where partners like Printshrimp stand out: competitive poster pricing with shipping included, and consistent paper choices. When I switched a chunk of SKUs to them, I stopped seeing the unpredictable colour shifts that used to cause returns.
AI models and print readiness
Some models now produce higher-resolution, print-ready outputs, but the metadata and profile assignment are still the seller’s responsibility. I run every AI output through a print workflow because it eliminates surprises.
Fee pressures and margin thinking
Etsy fees mean you should plan for roughly 10% in platform costs. That’s why I price posters in the mid-range — not too cheap so margin dies, not too expensive so buyers hesitate. Quality allows higher price points because buyers are willing to pay for prints that match the mockup.
Why choice of POD matters now
POD selection matters because different partners handle colour management and proofs differently. A POD with transparent ICC options and fast sample dispatch lets you iterate faster and maintain consistent colour across sizes and regions.
My preflight and production workflow (practical, step‑by‑step)
I treat each poster as a mini‑production. Over time I developed a checklist I run before any upload. I’ll explain the logic behind each step so you can adopt it without guessing. Follow this every time and you’ll cut reprints and refunds.
1) Define final trim size and viewing distance
Decide the final printed size before you generate or scale the image. For framed wall art or pieces customers view up close, I always aim for 300 DPI at final trim. If the design is 16×20 inches, set the canvas to that size with bleed and export at 300 DPI. For very large prints meant to be seen across a room, I’ve used 150–200 DPI after testing with the POD, because distance reduces perceived pixel density.
Why this matters: printers map pixels to dots on paper. If you give them too few pixels, they interpolate and edges soften. If you give them enough pixels, text and fine detail stay crisp.
2) Set canvas with bleed and safe area
Add 0.125" (3 mm) bleed on each side as a default. Some PODs ask for 0.25" so check the spec. For a 16×20" poster at 300 DPI, add the bleed and your canvas becomes 16.25×20.25" which equals 4,875×6,075 pixels. Keep critical elements inside a safe area about 0.25" from the trim.
Why this matters: printers trim sheets and small shifts at the guillotine can cut off edge text if you place it too close to the trim line.
3) Choose colour mode and profile
For POD platforms that accept sRGB, upload sRGB files but embed the profile. For contract or offset print, convert to the printer’s ICC profile, usually in the ISO Coated/FOGRA/GRACoL family. If the POD publishes an ICC, use it. If not, request it. Export PDFs with a PDF/X output intent where possible.
Why this matters: colour on screen (sRGB) uses different gamuts than CMYK printers. Converting and embedding prevents the printer from guessing how to map your colours and reduces surprises.
4) Use the right file format for the job
For raster art, I export high quality PNG or TIFF at 300 DPI, or very high quality JPEG if the POD prefers it but with minimal compression. For text, logos and elements that must scale, export vector PDFs, EPS, or SVG and embed or outline fonts. For press jobs, use PDF/X with embedded ICC.
Why this matters: raster formats with compression create artifacts around edges. Vectors scale cleanly and keep text sharp.
5) Proof before scaling up
Order a sample print or at least request a soft proof. Inspect the sample under neutral lighting and from the typical viewing distance. If colours are off, tweak and reproof. I keep a small run of samples for my bestsellers and I do full proofs when I introduce a new paper or finish.
Why this matters: screens lie. Paper and inks have physical properties that change saturation, contrast and black density. A proof is your safety net.
6) Document provenance if you use AI
Keep a record of the prompt, model, seed, and any edits. I store these in a Google Sheet and attach a note to the listing. If you ever need to defend IP or answer Etsy questions, you’ll be glad you did.
Why this matters: marketplaces are tightening rules. Provenance reduces risk and speeds dispute resolution.
7) Export correctly and upload
Embed ICC profiles, outline fonts where required, and avoid extreme JPEG compression. Upload and check POD preflight warnings. If a POD flags colour or DPI, fix it before listing.
Why this matters: preflight warnings are the printer’s way of telling you there’s a mismatch. Fixing them saves reprints.
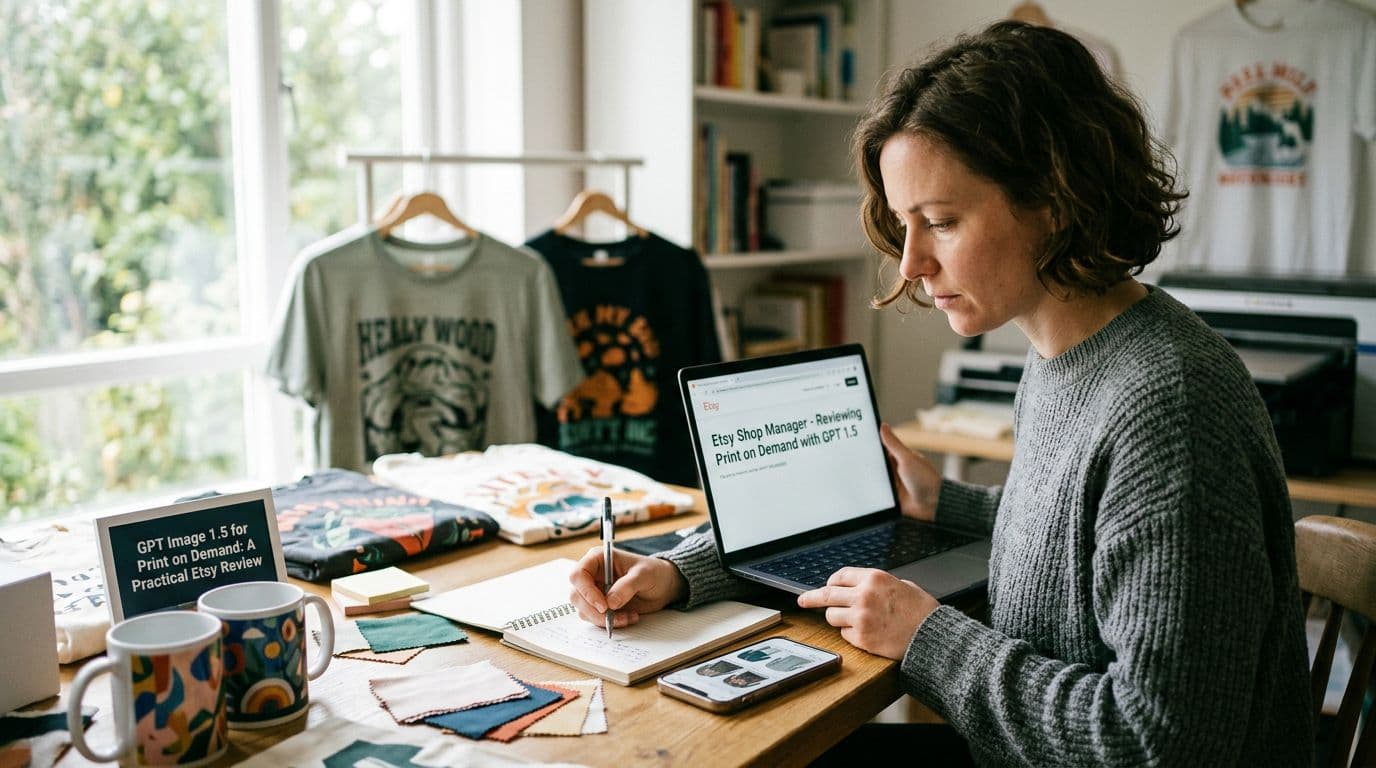
Tools, models, and POD partners I actually use
I test everything in live shops before I recommend it. For AI image models, I use a small set that consistently creates usable outputs without weird artifacts that sink print quality. My go‑to models are GPT Image 1.5 for predictable composition and text handling, Nano Banana Pro for studio‑quality control, and Nano Banana 2 when I need richer texture and sharp detail at higher resolutions. Seedream 5.0 Lite is excellent when I need 4K outputs and crisp multilingual typography.
I don’t recommend Midjourney or DALL‑E 3 for production posters because they don’t fit my print workflow as cleanly. Stable Diffusion variants and Leonardo.ai are fine for experimentation, but they require more hands‑on cleanup.
For POD partners, my top pick for posters is Printshrimp. Their A1 pricing around £11.49 including shipping gives me room to sell at £34.99 and keep about £20 after fees, which matches the margins I need to reinvest in ads and new art. The paper is 200gsm museum grade and I can choose matte or satin without extra cost. Quick dispatch and transparent pricing beat alternatives where shipping surprises otherwise eat profit.
Automation matters too. I built systems because manual uploads create errors and slow growth. That’s exactly why we built Artomate — to automate mockup generation, SEO metadata, and bulk uploads so I could scale without doubling my mistakes. If you’re uploading more than a handful of listings a week, automation pays for itself because it preserves consistent mockups, embeds the right keywords, and reduces manual copy‑paste errors.
Why I trust these models
The Nano Banana family and GPT Image 1.5 give me predictable outputs that need minimal clean‑up. Predictability matters because when you produce dozens or hundreds of variations, you don’t want to retouch every file.
Why Printshrimp beats others for posters
They include shipping in the poster cost, which simplifies pricing and prevents surprise costs. The paper weight and quick dispatch reduce returns and speed up samples.
When to use other PODs
Use Printful or Printify when you need specific SKUs they do better, or Gelato when you need particular regional coverage. But for poster core SKUs, I stick to one reliable partner to keep colour consistent.
Common mistakes that cost time and money (and how I fixed them)
I’ve made almost every mistake in the book. Some cost a single unhappy customer. Others cost me a week of manual corrections. Here are the ones I see most often and the exact fixes I applied.
Mistake: Uploading social‑sized images
Many sellers think an image looks sharp on Instagram so it must be fine for print. It’s not. Social images are often 72 DPI and small pixel dimensions. I started exporting my files at screen resolution and the results were terrible in print. The fix was simple: do the pixel math and export at 300 DPI at final trim size.
Why this happens: image generators and social apps prioritise file size and viewing speed, not print fidelity.
Mistake: Ignoring bleed and safe areas
I once cropped a poster’s title too close to the edge. The guillotine took a millimetre and the title looked squeezed. Now I add 0.125"–0.25" bleed and a safe margin so critical content never gets cut.
Why this matters: trimming variances are normal. Don’t make the printer save your layout.
Mistake: Bad colour workflow
Uploading unembedded sRGB and trusting the POD to guess the printer profile is how you get surprise colours. Fix: ask for the POD’s ICC, convert and embed on export, and proof.
Why this matters: printers map RGB to CMYK differently. Embedding removes the guesswork.
Mistake: Relying on AI exports without a print pass
AI outputs look great on screen but usually lack bleed, correct DPI, and embedded profiles. I now import every AI image into Affinity or Photoshop, set the canvas to the right size, resample only when necessary, then assign the correct profile and export.
Why this matters: AI tools are creative engines, not print engines.
Mistake: Skipping proofs
A buyer’s photo showed a poster with muddy blacks. I’d skipped ordering a sample to save money. After losing margin and a review, I started buying proofs for top designs and every new paper finish.
Why this matters: you’ll catch problems before they become public.
Success patterns: what worked for my best‑selling posters
I study my bestsellers to find repeatable patterns. It’s not magic. It’s doing the small technical things well, and then focusing attention where it moves the needle.
First, technical preflight. Every winning listing passed the 300 DPI rule at final trim, had the correct bleed and an embedded ICC profile. That prevented returns and kept reviews high. Second, proofing. I ordered at least one physical proof before I advertised a new design. When a colour drifted, I reworked the file before launching paid traffic. Third, consistent POD partner. I used Printshrimp for most poster SKUs, which gave consistent prints across sizes and regions. Consistency drives predictable reviews and fewer complaints.
On the marketplace side, thumbnails mattered enormously. My best thumbnails showed the poster in a simple room mockup with furniture to give scale. I made sure the thumbnail focused on the print, not the background. That increased click‑through rates and improved conversion because buyers understood scale and colour at a glance.
Pricing played a role too. For basic posters I targeted £12.99–£19.99 for smaller sizes and £34.99 for larger framed options. That mid‑range price point hit impulse buyers without killing margin, because POD costs (using Printshrimp) left room for profit after Etsy fees.
Documentation became part of the workflow. For any AI‑assisted work I stored prompts and model versions. When Etsy asked about origin for a flagged listing, I had the records to show provenance which avoided delays.
Benchmarks to aim for
Aim for 300 DPI at final size for close view posters, PDF/X for press, and TIFF or PNG for POD raster files. Use conversion benchmarks of 1–3% as a baseline and improve with better thumbnails and accurate shipping times.
Operational habits that scale
Keep a short list of reliable PODs, order proofs regularly, and automate repetitive tasks so you don’t introduce errors when scaling. Tools that automate mockups and uploads save time and reduce mistakes.
SEO and discoverability: how print quality ties into rankings
Etsy’s search is pragmatic: it rewards listings that convert. High technical quality helps conversion because the product photos align with the delivered item. When I improved the print quality and matched the mockups to the actual prints, my conversion improved and my listings climbed.
Start with titles and tags. Put the strongest phrase early, for example “16x20 botanical poster print” rather than just “poster.” Use all tag slots and include size, style, and use‑case phrasing. Attributes are powerful. Fill every attribute accurately because Etsy indexes them for filters and relevancy.
Thumbnail optimisation is non negotiable. I do simple room mockups that show scale, and I test thumbnail crops. A clean, high‑contrast thumbnail with visible texture or typographic detail converts better. I run A/B tests on thumbnails and prices and scale the winners.
Listing quality signals matter too. Fast processing, accurate shipping, and clear policies reduce cancellations and increase positive reviews. If a POD offers next‑day dispatch for samples, use it to keep listings accurate and reduce buyer friction.
Offsite traffic helps when you begin to advertise. Pinterest and Instagram are obvious choices for posters because they’re visual discovery channels. I use targeted Pinterest boards and test promoted pins for my top designs because the traffic converts well. Monitor Offsite Ads attribution and ROI closely so you don’t lose margin to misattributed ad fees.
Finally, don’t forget Google. Optimize the product description with natural language that includes long‑tail keywords and your main phrase like poster print quality. Google Shopping can bring buyers who want to compare across shops, so accurate metadata and image alt text help.
Why technical quality influences SEO
Etsy measures buyer satisfaction signals. If a listing’s mockups overpromise and buyers get a poor print, conversions fall and the listing’s visibility drops. Matching mockups to actual prints eliminates that mismatch and preserves ranking.
Small tests that move the needle
Test price points in small increments, iterate thumbnails, and keep the best performing shipping options. Small improvements compound.
The near future: what I’m preparing for and how you should too
Things will keep changing, but the direction is clear. AI models will produce higher fidelity outputs that are closer to print‑ready. Models like Nano Banana 2 and GPT Image 1.5 already reduce the cleanup I need to do, but they won’t remove the need for proper preflight. I expect POD dashboards to get better at soft proofing and offering ICC guidance, which will make colour management easier for sellers who adopt it.
I’m preparing by standardising my export pipeline and keeping a small group of reliable POD partners. That way, when a new model produces a near‑final file, I can move faster without sacrificing quality. Automation is becoming essential. That’s why automation tools like Artomate are part of my stack — they automate mockup generation and listing creation while keeping my SEO templates consistent.
Policy changes are coming too. Etsy is building clearer fields for AI provenance and IP metadata. I keep provenance records now because it’s easier than reconstructing them later. I don’t publish every prompt publicly, but I store the data in case of dispute.
Buyers will expect higher fidelity and premium paper options. That means a split between cheap mass prints and proofed premium runs. My plan is to keep a core catalog of mass SKUs that scale and a smaller lineup of premium, proofed limited editions where I charge more and offer guaranteed colour matches.
How to prepare today
Standardise your file naming, export settings, and proof cadence. Keep one or two POD partners you trust. Automate the repetitive parts of mockup and listing creation. Document AI provenance. Those small operational choices make scaling possible without losing quality.
FAQs
What DPI should I upload for a 24×36" poster viewed up close?
Aim for 300 DPI at the final trimmed size. With 0.125" bleed your canvas becomes 24.25×36.25", which at 300 DPI equals 7,275 by 10,875 pixels. I generate at that size or slightly larger and then downsample gently rather than upsample, because upsampling creates soft edges.
Should I upload sRGB or convert to CMYK for POD?
Follow the POD’s stated requirements. Many PODs accept sRGB and convert for you, but that can introduce colour shifts. If the POD provides an ICC profile, convert and embed it. For contract or offset print you must supply CMYK with the printer’s ICC (ISO Coated / FOGRA / GRACoL). I always ask the POD for their profile and proof a sample.
What file format is best for text and logos?
Vector formats are best. Supply SVG, EPS, or PDF/X with fonts embedded or outlined. Vectors scale cleanly without losing sharpness. If you must supply raster, use high‑quality TIFF or PNG at 300 DPI and avoid JPEG artifacts.
Can I use AI-generated images for posters on Etsy?
Yes, but document provenance. Keep prompts, model versions and edit logs. Etsy’s policy environment is tightening and provenance reduces friction when disputes arise. Personally, I add a short disclosure in listings when AI played a major role.
How do I ensure consistent colour across POD partners?
Use one reliable POD for core SKUs. If you must use multiple partners, request their ICC profiles, proof with each partner, and keep paper and finish consistent. Printshrimp is my go‑to because their pricing and paper options keep colour consistent and margins healthy.
Final Thoughts
Technical choices — DPI for posters, colour profiles printing, and correct print on demand file formats — are not optional details. They’re the difference between a listing that converts and one that becomes a refund case. My advice is simple: do the pixel math, include bleed, embed profiles or convert to the printer’s ICC, and proof before you scale. Use reliable partners and automate the repetitive parts so you can focus on design and test what actually sells.
I wouldn’t have grown the shop this far without treating every upload as a production file and without standardising a workflow for proofs and profiles. Take the time now to fix the small technical issues and your listings will reward you with fewer returns, better reviews, and higher conversion.

George Jefferson
Founder of Artomate
George has generated over £100k selling AI-generated posters on Etsy and built Artomate to automate the entire print-on-demand workflow. He writes about AI art, Etsy strategy, and scaling a POD business.
Learn more about me →