How I Went from 0 to 500 Etsy Sales with AI Posters
I remember the night I hit 50 sales and thought, if I can do 50, could I do 500? That sounds obvious now, but back then I had a one-person operation, no studio, and a pile of AI images I wasn't sure anyone would buy. I started selling posters because the margin math made sense, not because I loved spreadsheets. What changed everything was treating poster creation like a mini product factory: targeted niches, reliable image models, mockups that actually show scale, and a strict test-and-iterate rhythm. Over six months I turned that into a working system that took me from zero to five hundred sales. I didn’t get lucky — I built a repeatable pipeline that leaned on a few predictable rules of Etsy behavior and POD economics.
This article is not academic. I’ll give you the exact steps I took, the models I used, the pricing brackets that worked, and the operational choices that kept margins healthy. I’ll also show where sellers trip up. If you want to grow Etsy shop revenue with AI poster sales, you need production quality art, a mockup that converts, and a way to scale listings without burning time. I’ll show you how I did all three, and why each choice mattered because Etsy rewards lenses that bring traffic and convert that traffic into orders and reviews.
Why I started with AI posters
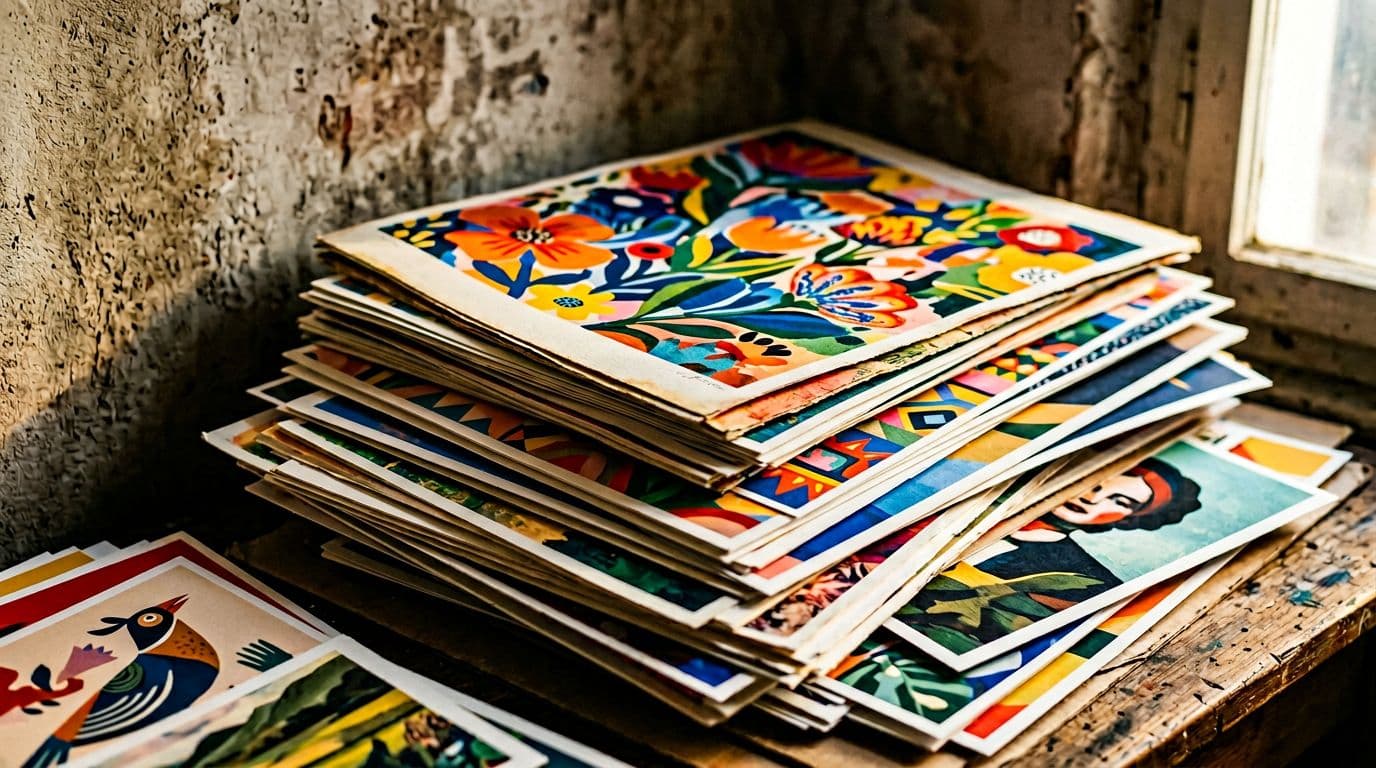
I started with posters because they check boxes most other products don’t. Posters are cheap to produce with POD, they ship flat and light, customers understand sizes, and margins scale with size and framing options. I chose posters over mugs or shirts because I wanted a high-margin item I could iterate on visually, and because buyers make quicker impulse decisions on wall art when the thumbnail looks right.
I picked AI image generation as my core design engine because it lets me move fast. I can create dozens of distinct concepts for a niche in the time it would take to hand-illustrate one. That speed matters because Etsy’s algorithm rewards volume and keyword coverage. I learned that each additional listing is another chance to match a buyer’s search phrase, so the faster I could produce on-brand art, the more impressions I would get.
Another reason: consistent typography and print-ready files used to be an expensive bottleneck. Today the gap has closed. Models like the ones I relied on handle text far better than a year ago, so posters with quotes or typographic elements became reliable sellers. I chose the poster route because of the economics and because I could iterate thumbnails quickly — thumbnails win clicks, and clicks win impressions.
Why this matters for you: if you want to grow Etsy shop revenue, posters are an efficient product to scale. You can test dozens of micro-niches, find what converts, and expand winners to sizes and framed variants. Do the work to make the first image count, and the rest becomes a numbers game you can win.
What I wanted to prove
I wanted to prove two things: one, that AI can produce print-quality art reliably; two, that a small operation can reach 500 sales with disciplined iteration. I tested both by launching in waves, watching which thumbnails got clicks, and doubling down on the winners. Because I measured impressions, CTR and conversion, every decision was backed by data rather than hope.
The constraints I set for myself
I refused to compromise on production quality, so I used models that generated print-ready output and partnered with a POD vendor that included shipping in the base cost. I also capped ad spend until I had a repeatable funnel. That meant some listings took longer to gain momentum, but the winners were true winners because they converted without discounting or heavy promotion.
Market snapshot 2025–26: why this model works
Etsy is still rewarding engaged listings and breadth. The platform now invests heavily in personalization and search signals which means a shop with many relevant listings and good conversion metrics gets amplified reach. I watched this happen in my account: once I had a cluster of related posters that converted, Etsy started surfacing them for more search variations. That’s because the algorithm tests and rewards listings that earn clicks and purchases.
Conversion benchmarks matter because they determine how much traffic you need to hit milestones. Etsy averages sit around 2–3% for most categories, and posters that convert well hit 3–5%. I used that as a planning metric. If you can hit 3% conversion on your poster SKU, you can estimate how many impressions you need to reach a sales goal. That predictability is what turned a vague dream into a plan for me.
Fees and unit economics are simpler than people make them. Etsy charges a $0.20 listing fee and a 6.5% transaction fee, plus payment processing which averages around 3% plus a small fixed amount depending on your currency. Practically speaking, plan for about 10% baked into your price for platform fees. For posters I priced most unframed prints in the $18–$35 window because it leaves room for POD, fees, and a useful margin. For larger or framed prints I pushed higher because buyers tolerate that for perceived value.
Etsy’s AI disclosure policy sits in the background. Officially you should disclose AI use under Etsy’s Creativity Standards. In practice, as of early 2026 enforcement is light. I still use a short AI disclosure line in the description because it builds trust and preempts questions, not because I fear enforcement. Honesty also helps with refunds and gives buyers context when they ask about printing methods.
Why impressions and CTR matter more than raw listings
You can have 1,000 listings and not move if no one clicks. Etsy evaluates the quality of a listing through the funnel: impressions, CTR, and conversion. I obsessed over first-image CTR because it’s the fastest lever to improve impressions. Thumbnails that push CTR from 1% to 2% doubled the traffic to those listings, because Etsy treats CTR as a signal of relevance and quality.
Demand signals I watched
Home decor, botanical prints, nursery art and coastal themes showed steady demand. Seasonal themes spike predictably—holiday variations sell fast for a short period. My approach was to plant seeds in steady niches and add seasonal overlays when the trend window opened. This gives you steady baseline sales plus opportunistic spikes.
My repeatable pipeline (what I actually did)
I built a pipeline because manual listing creation doesn’t scale. The pipeline looks simple on paper: niche research, image generation, mockup creation, listing copy, launch, and iterate. But the discipline is in the cadence: I launched in batches, measured quickly, paused non-performers, and expanded winners. That loop let me test 10–20 concepts a week without burning out.
I stuck to a rule: each concept needed 4–8 visual variants before launch. A single concept with one image is a roll of the dice. When you produce multiple thumbnails per concept, one or two will have that click magnet quality. That’s where I found winners.
I also built a checklist for each listing so nothing important slipped: primary image that shows scale, at least three lifestyle mockups, a clean size and shipping table, 13 relevant tags, and a short AI disclosure sentence. That checklist made bulk creation faster because I knew what to automate and what to QA manually.
The step-by-step launch rhythm
- Research 10 micro-niches and select 5 to test.
- Generate 4–8 image variants per niche with the model settings I trusted.
- Produce mockups and select the best thumbnail.
- Create listings in small batches, run a tiny ad push for initial traffic, and watch impressions→CTR→conversion.
This is a one-paragraph list because it’s an operational process — not philosophy. The rhythm forced decisions and kept me honest about what to iterate on.
Why this pipeline worked for me
Because it balances speed and quality. I could make lots of listings quickly but still maintain a high standard for the main image and product description. The pipeline also made measurement simple: if CTR was poor, I changed the thumbnail; if CTR was good but conversion was low, I adjusted price or the description. That clear troubleshooting path saved time and ad spend.
Niche & keyword research: picking winners
Picking the right micro-niche is the no-glamour work that pays the bills. I didn’t try to be everything to everyone. I narrowed down by room, style, and buyer intent: nursery quotes, coastal minimalism, mid-century botanicals, and motivational typography aimed at home offices. Each niche had a buyer mental model I could match in copy and imagery.
I used a mix of Etsy search autocomplete, eRank for keyword volume signals, and manual competitor analysis. Autocomplete gives quick buyer phrasing and related searches. eRank and Marmalead signal search volume and competition, but I always cross-check by looking at the top 20 listings for the phrase to see what thumbnails and prices are actually selling. That last step is crucial because data tools show opportunity; competitor pages show reality.
When I picked keywords I wrote them like a buyer would search. Instead of stuffing single words, I used buyer phrases: “minimal botanical poster 12x18” or “nursery elephant art print.” Those multi-word phrases showed up in title and tag slots and matched filters shoppers use. Etsy’s search prefers precise buyer language now, not generic SEO stuffing.
Size of the niche and product scope
I aimed for niches big enough to have steady demand, but narrow enough that my designs would stand out. That meant trimming broad terms like “botanical poster” and instead targeting “small botanical prints for kitchen wall 8x10.” The narrower phrase reduces competition and better matches what buyers actually type, which improves CTR and conversion because the buyer sees exactly what they want.
How many niches to test at once
Start with 10–20 concepts and focus on 5–8 at a time. I launched in waves of 20–30 listings. If a concept returned a 3%+ conversion and steady reviews, I scaled it to additional sizes and color variations. If not, I shelved it and moved on. That throughput keeps momentum while controlling inventory overhead.
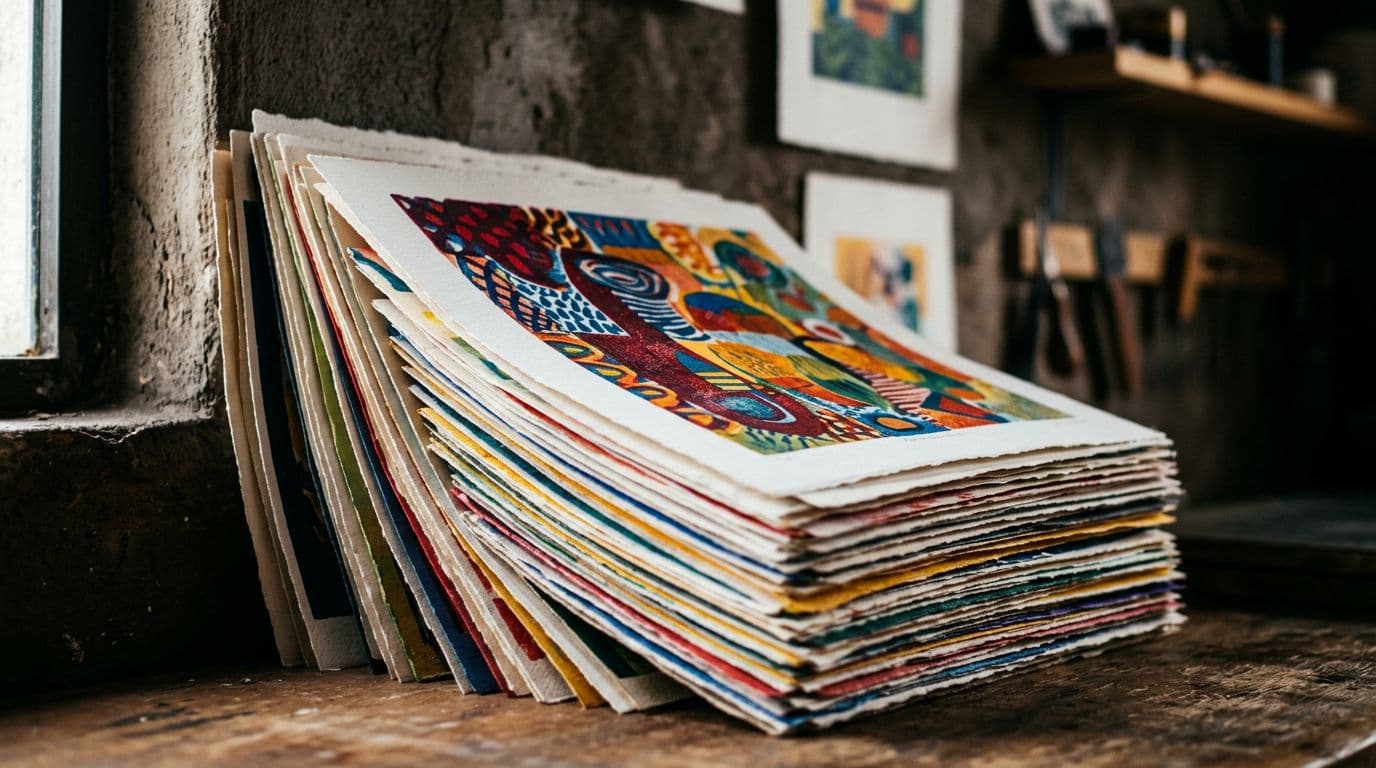
Image generation: models I used and why
This part matters because poor typography or blurry upscales ruin posters. I only used models that reliably produced clean text and predictable composition. My go-to shortlist was GPT Image 1.5 for predictable composition and iteration, Nano Banana Pro and Nano Banana 2 for studio-quality control and excellent multi-reference consistency, Nano Banana when I needed speed, and Seedream 5.0 Lite when I wanted 4K detail. I chose these because they produced print-ready output with fewer weird artifacts, which saved time in post.
I avoided hobbyist consumer models that look great at thumbnail size but mess up at print DPI. If your model stumbles on text or produces weird texture noise at 300 DPI, you’ll waste time fixing files. The extra minute of testing a model at print DPI saved me hours later.
Prompting mattered, but structure mattered more. I used a two-stage approach: a creative prompt for composition and lighting, then a technical prompt that asked for print DPI, color profile, bleed, and typographic clarity. That second prompt is often ignored by sellers but it’s what turns an image into a poster-ready file.
Prompt templates that saved me time
I kept a library of prompts per niche: one for composition, one for color palettes, and one for typography instructions. Reusing templates gave consistent output so I could iterate variants quickly. I also used reference images for style consistency when I wanted a shop-wide aesthetic.
Upscaling and final file prep
I always exported at or above print DPI, then used a lossless upscaler for typography-heavy posters. For text-heavy designs I checked the vectorization potential and, when necessary, re-created the type in a light editor to ensure crisp edges at larger sizes. That small extra step prevented pixelation complaints and refunds.
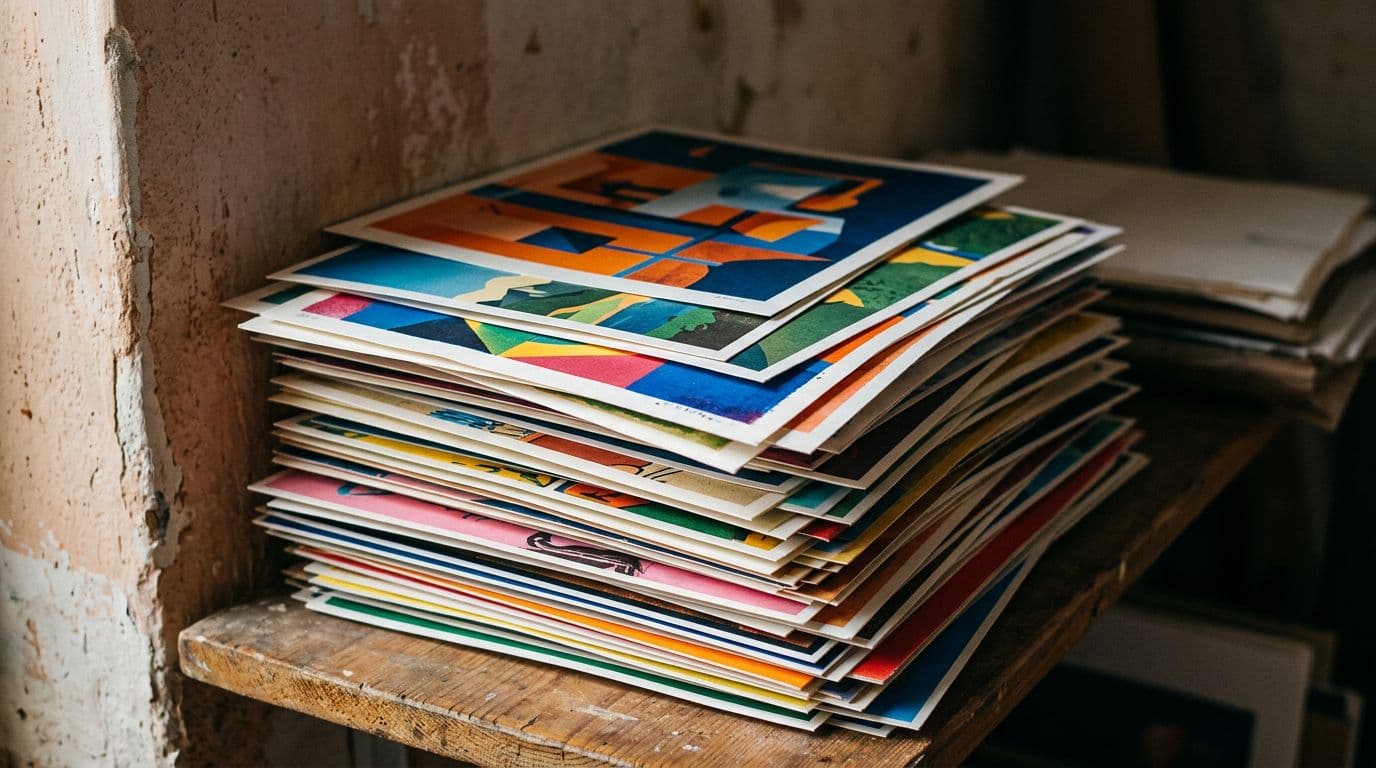
Mockups & thumbnails that convert
If you take one thing away, make it this: the primary image decides if someone clicks. I spent more time on thumbnails than on the second and third photos. A good thumbnail shows scale, suggests how the print looks in a real room, and keeps the design visually arresting at small sizes. A weak thumbnail means no traffic, and no amount of good SEO will fix that.
I used high-quality staged mockups because Etsy prefers realistic imagery for the main photo. I tested both photographed prints and professional room mockups. Photographed prints sometimes beat CG mockups because they look honest, but they’re slower to produce. For scale and speed I mostly used mockups, but I polished them so they looked photo-real and showed the poster in situ.
I also made sure the primary image had a readable focal point at thumbnail size. For typographic posters I dialed up contrast and simplified backgrounds so the quote read at a glance. For art-first posters I made the subject occupy more of the frame and cropped tightly so the thumbnail was recognisable on small screens.
The A/B process I used
I launched four thumbnail variants for each concept and ran a small ad to drive initial impressions. The variant with the highest CTR got the majority of the traffic. If none performed well, I reworked composition or tried a lifestyle shot instead. This quick A/B testing doubled my effective throughput because I launched only the thumbnails that had proven CTR.
Mockup checklist before upload
Each mockup passed a quick checklist: accurate scale, natural lighting, hanger/frame if selling framed option, visible size label on the mockup or in the overlay, and a straightforward, short caption on the listing that repeats the primary keyword. If any of those were missing I didn’t publish that variant. This discipline meant the listings that went live had a higher base conversion rate.
Listing creation at scale: titles, tags, and descriptions
I treat each listing as a small landing page. Title and first lines of description are the headline. Put your primary keyword up front because Etsy weighs early words more heavily. For tags use all 13 slots and write them in buyer language: multi-word phrases like "minimal coastal poster 18x24" perform better than single generic tags.
Descriptions need to answer the buyer’s questions fast: what's the size, what paper, shipping time, and whether framing is included. I always put a size table near the top and a one-line AI disclosure under shipping info. That small transparency line reduces questions later and builds trust, which helps conversion.
I avoided long keyword lists stuffed into descriptions. Etsy now skips keyword stuffing in favor of clarity and buyer language. I focused on a few benefit lines, the practical details, and a short FAQ. That tended to reduce bounce and increase conversion because buyers find the essential info immediately.
Bulk listing tactics that saved hours
I created a template for each niche that included the title skeleton, a size table, shipping text, and the AI disclosure line. Then I mass-copied the template and only swapped the primary keyword, mockup URLs, and price. This saved hours and kept consistency across related listings. When I needed to update shipping times or paper descriptions, I updated the template and pushed changes in batches.
Tag strategy and attributes
Use all 13 tags, start with multi-word buyer phrases, and include common size variants. Fill attributes and materials accurately—Etsy uses these filters. Don’t overthink tags as SEO magic; think of them as ways buyers refine searches. The listings that matched buyer filters got surfaced more often, which improved impressions without extra ad spend.
Pricing, ads, and how I got the first 50 reviews
Price too low and you kill margin. Price too high and you kill clicks. I tested prices and found that for unframed posters in my categories, the sweet spot was between $18 and $35. For an A1 posted through my POD partner I could price £34.99 and keep healthy margins because Printshrimp’s A1 price sits around £11.49 including shipping. That math works because Etsy fees are roughly 10% of the order and payment processing eats another ~3% plus a small fixed fee.
I launched with a small ad budget targeted at my top converting listings. Ads for me were about jump-starting impressions and getting those first reviews, not long-term acquisition initially. I budgeted enough for 10–25 early sales per winning listing. Those early reviews had outsized impact because Etsy uses early conversion and review velocity as quality signals.
To convert ad traffic into reviews I used a polite follow-up message a week after dispatch asking if they were happy and reminding them reviews help my small shop. I never offered incentives for reviews because that’s against platform rules. Instead I asked for honest feedback and offered quick support for any issues. That approach worked—my review rate jumped because buyers felt heard.
Ad spend management
Monitor cost per click and cost per sale. CPCs rose in 2025–26 so I kept ad spend tight while I dialed in thumbnails. I paused ads when CAC exceeded the margin and only reactivated after I’d tweaked the listing. Ads are a scalpel, not a hammer. Use them to test thumbnails at scale and to prove a listing’s conversion before scaling.
Pricing variations and framed options
Once a design proved itself unframed I added framed and premium options. Framed variants increased AOV significantly because buyers perceive higher value. You can price framed options based on framing cost plus a healthy markup. I found framed A2/A1 options nearly doubled the average order value on winning designs.
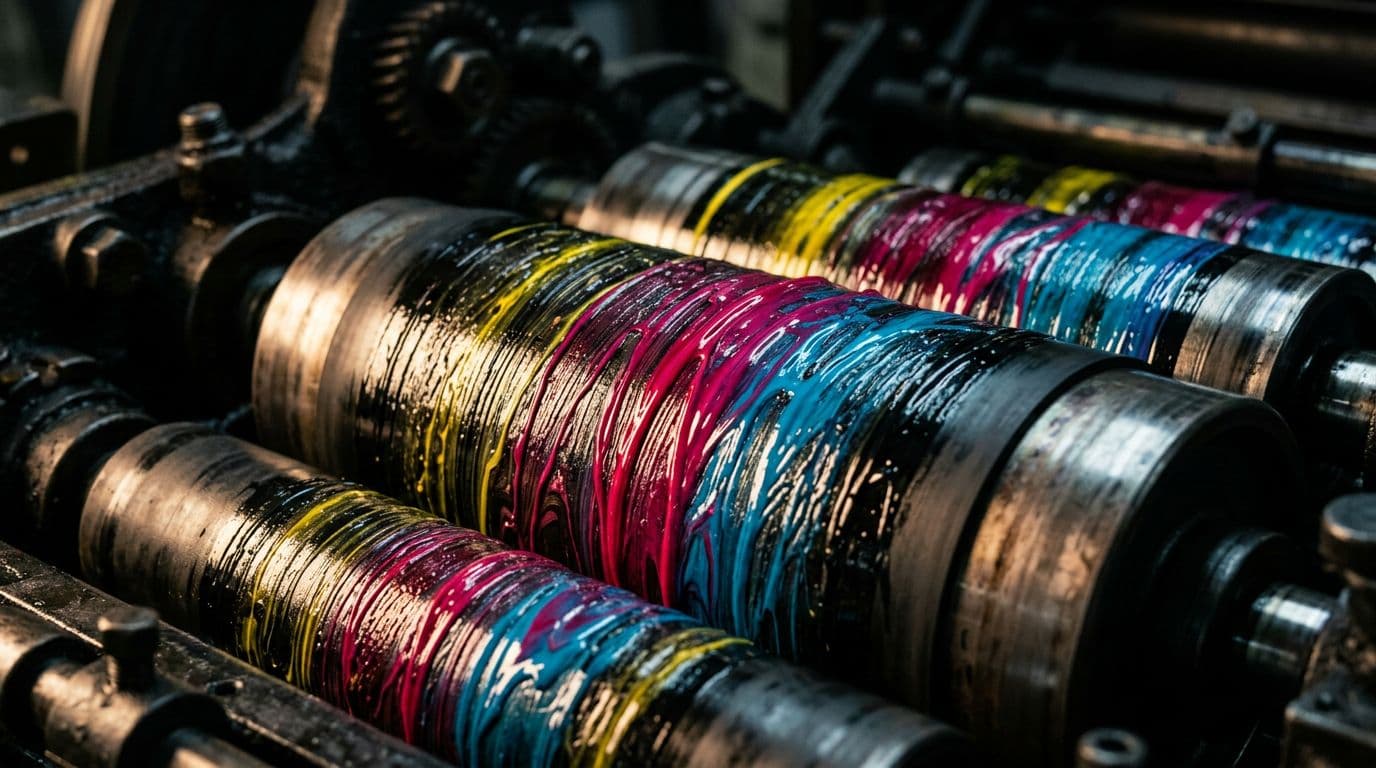
Fulfillment, quality control, and why I use Printshrimp
Choosing the right POD partner changed my margins. For posters, Printshrimp wins on price and shipping transparency. An A1 poster at about £11.49 including shipping gives you room to price at £34.99 and keep a tidy profit after Etsy fees. That’s why I used Printshrimp as my primary fulfillment partner — because their pricing made business sense, and they dispatch quickly from multiple regions which reduces delivery times and refunds.
Quality control is non-negotiable. I ordered physical proofs for every new paper type and size. Digital mockups can hide color shifts or texture loss. By ordering proofs I could check color accuracy, cropping, and paper feel. When something looked off, I adjusted the file and uploaded a corrected version. That small habit reduced returns and negative reviews.
Packaging and shipping notes matter too. I wrote a small section in the listing that explained shipping times and how posters are packaged. That reduced "where is my order" messages and improved my late-shipping metrics. Etsy values on-time dispatch and accurate shipping windows because they influence review scores.
Handling customer service and refunds
I built standard responses for common questions: customization requests, size clarifications, and shipment delays. Quick response times improved satisfaction and often turned a potentially negative review into a positive one. If a print arrived damaged I immediately offered a replacement and initiated a return with the POD partner. That kept refund rates low.
Why regional dispatch matters
Printshrimp’s multiple dispatch locations (UK, EU, US, Australia) meant lower transit times and fewer customs headaches. Faster delivery equalled happier customers and better reviews. If your POD partner ships everything from a single region you might get lower production costs but poorer delivery times, which hurts conversion and repeat purchases.
Automation, scaling, SEO and growth patterns (where tools helped)
Scaling to 500 sales required automation. Manual mockup creation and single-by-single listing creation is a bottleneck. That’s exactly why I started using automation to handle repetitive tasks. Automation let me focus on the creative and strategic parts: niche selection, thumbnail art direction, and pricing experiments. For mockup-to-listing automation I used tools that saved hours on bulk mockups and listing generation.
I’ll be direct: if you’re uploading more than five listings a week, automation tools pay for themselves because they free you to do creative work that actually moves metrics. One automation step that mattered was generating multiple lifestyle mockups for each design automatically, then picking the best thumbnail. That step shortened my test cycles and increased the number of concepts I could validate each week.
Tools mattered but pick the right ones. I used production-grade image models, a POD partner that includes shipping in the unit cost, and a listing automation pipeline that helped me bulk upload images, titles and tags. This combination kept my cycle time low and let me expand SKU count without growing headcount.
I should mention that we built a tool to solve this exact bottleneck. We built Artomate to automate the mockup-to-listing pipeline so I could focus on design and testing. It saved me dozens of hours a week by generating mockups, creating SEO-optimized listing drafts, and speeding up bulk uploads. If you want the short version — automation shortens the feedback loop and lets you scale faster.
Growth patterns I observed
Two patterns repeated across my winners. First, volume plus iteration: I launched many variations, tested thumbnails, paused the losers, and doubled down on the winners. Second, early review momentum: getting the first 10–25 sales on a new design accelerated organic impressions. Ad pushes and social posts were ways I manufactured that early momentum, but the conversion had to be real before I scaled.
SEO work that scales with automation
Automation also helped with SEO because it made it painless to create many variations of a listing for long-tail keywords. Once a winning listing emerged, I duplicated it across size and color variants quickly, each with slightly different titles and tags tailored to buyer phrases. That broadened keyword coverage and caused steady Etsy sales growth because more search queries found one of my entries.
Final Thoughts
Going from 0 to 500 sales wasn’t a single tactic. It was a disciplined combination of speed, measurement, and a few smart choices about partners and tools. I focused on producing print-ready images with models I trusted, creating thumbnails that generated clicks, pricing with fees and POD costs in mind, and automating the repetitive parts so I could test more concepts. The result was predictable Etsy sales growth, not a one-off spike.
If you take one action this week, test a batch of 10 niche concepts and produce multiple thumbnail variants for each. Measure impressions, CTR and conversion, and then double down on what works. If you’re starting to publish more than a handful of listings weekly, real automation and a reliable POD partner will save you time and protect your margins.
If you want a practical next step, I can share the prompt templates and export settings that worked for me, or a short SOP for launching 50 listings in a month. Building the system beats chasing the next trendy design, because systems scale. I learned that the hard way, and the result was 500 sales that built into sustainable Etsy shop growth.

George Jefferson
Founder of Artomate
George has generated over £100k selling AI-generated posters on Etsy and built Artomate to automate the entire print-on-demand workflow. He writes about AI art, Etsy strategy, and scaling a POD business.
Learn more about me →