Etsy's AI Disclosure Policy: What Sellers Must Do in 2026
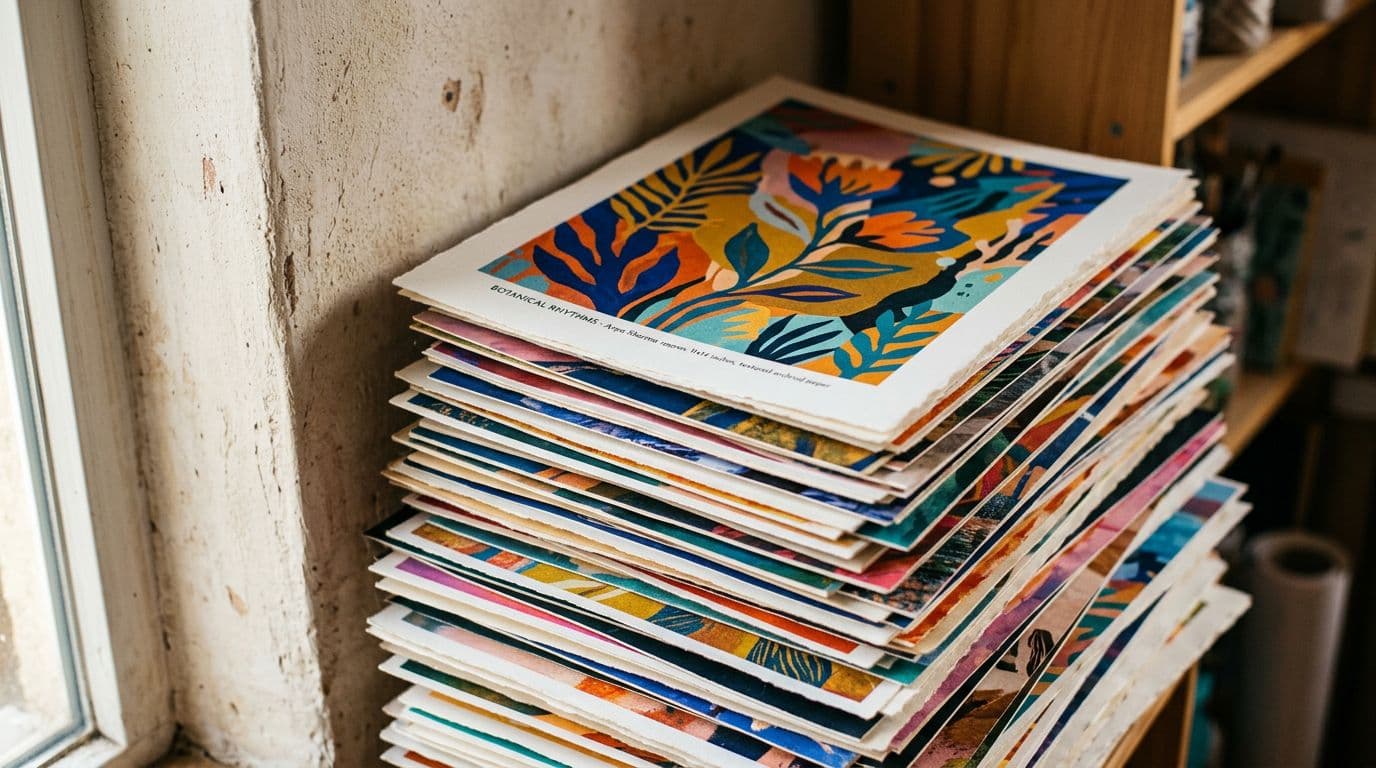
I remember the moment AI became a normal part of my poster workflow. I was testing a new surreal botanical prompt set and could produce usable mockups in minutes. Sales started to trickle in, but a question nagged me: should I tell buyers I used AI? Etsy’s Creativity Standards made that a formal expectation, but enforcement was fuzzy. For a POD seller running on slim margins, that fuzziness isn't comfort. You need clear, repeatable routines that protect your shop from takedowns, IP disputes, and licensing mistakes while keeping listings optimized for conversion. In 2026 the safe, practical path is simple: disclose clearly, document thoroughly, confirm commercial rights, and scale with repeatable templates. I’ll show you exactly how I do that in my shops — with the tools and numbers I use — so you can copy the parts that fit your business and avoid the mistakes most sellers make.
Etsy's Creativity Standards: the rulebook sellers actually face
What Etsy expects in plain terms
Etsy’s Creativity Standards require sellers to disclose when an item was created or materially assisted by AI, and the easiest place to do that is in the listing description. The policy asks for a factual line, not a marketing paragraph, and to name production partners when they contributed. From where I sit this is straightforward: put one short sentence near the top of every affected description, state the tool and model where possible, and name your POD partner. Doing that keeps you within Etsy’s stated rules and makes your listings look professional because buyers appreciate transparency. Plus, a clear disclosure reduces the chance someone flags the listing and triggers a removal.
Over the past year I’ve watched Etsy refine how it surfaces enforcement guidance and help articles. That means the letter of the policy has become clearer, but the spirit — protect buyers and reduce confusing claims — is what the moderators act on. In short: be factual, be specific, and don’t try to mislead customers about who made what.
If you want short, repeatable examples for your shop, try these variations depending on process and risk tolerance:
- "AI-assisted: generated with Nano Banana 2, edited in Photoshop. Printed by Printshrimp."
- "AI-generated (no major edits): created with Seedream 5.0 Lite. Printed by Printshrimp."
- "Human-designed + AI-assisted elements: concept by studio, images generated with Nano Banana Pro and refined in Illustrator."
These lines follow Etsy AI disclosure expectations and the broader AI art Etsy policy trend toward clarity.
Where to put your Etsy listing disclosure
I put my disclosure in the first paragraph, right after the 1–2-sentence product elevator. Example I use in live listings: "AI-assisted: generated with Nano Banana 2, edited in Photoshop. Printed by Printshrimp." Short, factual, and repeatable across hundreds of listings. Why here? Etsy surfaces the first lines in search previews and on mobile, so if you hide the disclosure in a long paragraph it won't be obvious to buyers or to moderators. The rule of thumb I follow is: make the disclosure visible but unobtrusive so it doesn't harm conversion.
You can also add the disclosure to these places for extra clarity and to meet expanded Etsy AI rules that show up in policies and help pages:
- Shop announcement or pinned message for high-level transparency
- A separate “About” section for your shop with more detail on your process
- FAQ/Policies where you explain production partners and shipping, and provide a fuller explanation of your creative process and AI disclosure requirements
That second, deeper disclosure isn’t required by Etsy for every listing, but it helps handle buyer queries and reduces DM messages asking "was this made by AI?" which otherwise can hurt conversions and increase support time.
Enforcement reality and risk management
In practice Etsy’s enforcement has been uneven. There have been few public enforcement actions specifically for non-disclosure. That said, Etsy can remove listings that violate the Creativity Standards and the help pages list disclosure-related removal reasons. Don’t assume silence equals permission. I treat the policy as mandatory because the cost of being flagged is real: a forced edit, a takedown, or a temporary suspension can wipe out days or weeks of revenue while you sort it out. That’s especially true for POD shops where each listing is a revenue engine. Disclosure is cheap insurance against an expensive problem.
Think in terms of probability and impact: the chance of being flagged might be low, but the impact of a takedown on a busy shop can be high. That’s why a few minutes per listing to add a proper Etsy AI disclosure and to keep records is a low-cost, high-value control.
What "AI-generated" and "AI-assisted" mean in practice
How I decide which label to use
I use two labels: "AI-generated" when the bulk of the visual composition comes from the model with minimal human edits, and "AI-assisted" when I prompt-and-curate multiple outputs, then do meaningful edits in Photoshop or Illustrator. For example, if I run a prompt, layer two model outputs, replace typography, and retouch the composition, I call it AI-assisted. If I upload a single raw model output with only color correction, I call it AI-generated. That distinction matters because of copyright uncertainty. If you can show human intervention beyond minor post-processing, you strengthen any authorship claim.
Here’s a simple checklist I follow to choose a label:
- Did I create the core composition (layout, main subjects, major design choices) myself via edits or collage? If yes → "AI-assisted".
- Did I merely run a single prompt and export a model file with minor contrast, crop, or color adjustments? If yes → "AI-generated".
- Did I combine stock or licensed assets with model outputs? If so, list both sources and call it "AI-assisted" because there’s mixed-source input.
Examples sellers can apply immediately
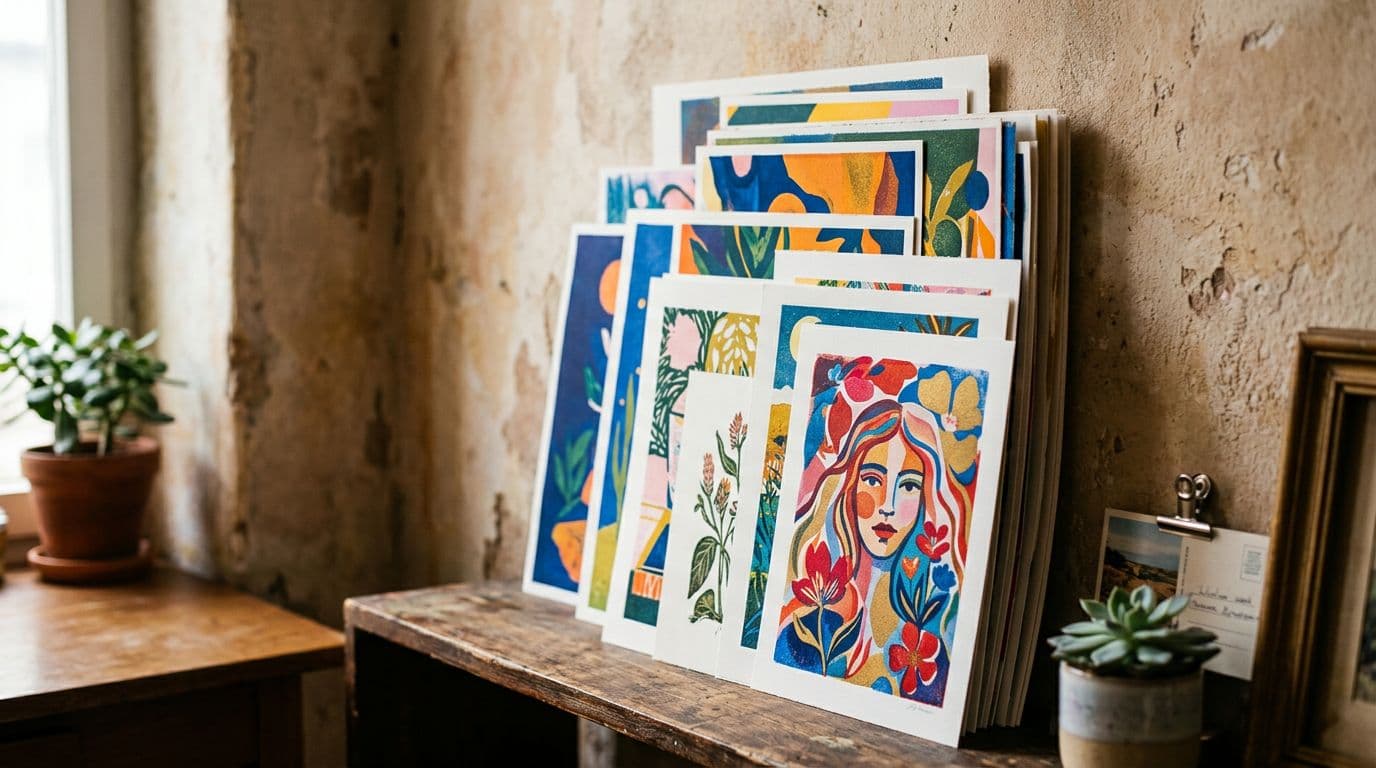
Here are two real examples from my shop. Example A was a botanical poster where I stitched three model outputs, added original vector overlays, and designed custom typography. I listed it as "AI-assisted: generated with Nano Banana 2, edited in Illustrator." Example B was a texture experiment where the model output was used almost raw with only contrast tweaks; I listed that as "AI-generated." Both listings sold, but the AI-assisted ones are easier to defend if someone questions ownership because they show clear human creative choices.
I keep short notes in each listing record describing the edits. For Example A I wrote:
- prompts_v1.txt (3 prompts)
- stitch.psd — layers: outputA, outputB, outputC
- vector_overlays.ai — custom shapes and typography
- final_export_03.png — listing image
That note lives with the files so if Etsy or a buyer asks "what is material assistance?" I can show an audit trail.
Why the label matters beyond policy
Label choice affects buyer perception and legal posture. Buyers appreciate honesty and often prefer to know if something is handmade versus machine-assisted. From a legal standpoint, demonstrating human contribution helps if you need to assert copyright or respond to a takedown. I aim to be conservative with labels because a small extra dose of transparency buys peace of mind and keeps customer questions manageable.
A practical tip: add a short "how we make this" blurb in your FAQ describing your typical process — e.g., "we use generative models to explore textures, then create the final composition by hand in Illustrator" — so customers understand what the label means in your shop's context. That reduces friction and returns caused by misunderstanding.
Copyright, model ToS, and commercial rights: the real legal backdrop
U.S. copyright guidance and human authorship
U.S. guidance remains skeptical about claiming copyright in outputs that are purely machine-generated. The Copyright Office has said that without meaningful human authorship exclusive claims are risky. That doesn’t mean you can’t sell model outputs, but it does mean you should record the creative steps you took. I save prompts, timestamps, before-and-after files, and notes on edits. If you can show a clear chain of creative choices, you’re in a stronger position.
International nuance matters too. Some jurisdictions have taken different approaches to what qualifies as protectable work. If you sell internationally, consider the legal frameworks in countries where you have high sales. For example, EU copyright law emphasizes authorship and originality in ways that generally align with demonstrating human creative input, but procedures and enforcement can vary. That’s another reason thorough recordkeeping helps — it gives you a defensible position across markets.
Model terms of service and commercial use
Treat model ToS as a hard rule. Free or trial tiers often limit commercial use. I always double-check the account tier and the provider’s commercial rights before listing anything. For the models I use, commercial rights are usually explicit on paid tiers. For example, our recommended Tier-1 models like GPT Image 1.5 and Nano Banana family have clearer commercial terms than many alternatives, which is why I prefer them. If the ToS doesn't grant the right to sell outputs, don’t list the product.
Practical steps for dealing with model ToS:
- Keep a screenshot or export of the licensing page showing your account tier and the date you checked.
- If a provider changes terms, record the change and reclassify any affected designs (e.g., purge them, re-license, or re-create with a compliant model).
- When purchasing prompts, brushes, or third-party assets, keep the seller’s license and proof of purchase.
Licensing breaches and how they happen
Most licensing breaches happen because a seller misunderstands what their account allows or because they reuse assets that came from a different license. Concrete example: a designer used a free model output, layered a trademarked logo they didn't own, and uploaded the result. That listing got taken down. The fix is simple: verify account rights and avoid adding trademarked elements unless you have a license. Keep a habit of checking your model account settings monthly so you don’t accidentally cross a line.
A few real-world breach scenarios and quick fixes:
- Scenario: You used a community prompt pack that included a locked reference image. Fix: remove the listing, re-create without that reference, or obtain a license for the reference.
- Scenario: A collaborator provided model outputs but used a different provider with non-commercial terms. Fix: re-generate with a compliant account or secure a written license from the collaborator granting commercial rights.
- Scenario: Your design contains a celebrity likeness. Fix: stop selling until you have a rights clearance or replace the image with an original or stylized, non-infringing alternative.
These are avoidable by building a simple pre-publish checklist.
My step-by-step practical playbook for POD Etsy compliance
Templated disclosure and listing workflow
I run a template for every listing. The first paragraph is the product elevator, the second is my disclosure line, then shipping and sizing details. The disclosure line reads: "AI-assisted: generated with Nano Banana 2, edited in Photoshop. Printed by Printshrimp." I copy that into every relevant description and replace the model/tool names when needed. This templated approach keeps compliance consistent across hundreds of listings, which matters because Etsy favors shops that look professional and trustworthy.
My full listing template (shortened, but practical) looks like this:
- Product elevator (1–2 sentences with main keywords)
- Disclosure line (short factual sentence per Etsy AI disclosure guidance)
- Production partner and paper/materials (e.g., Printshrimp A1 Premium Matte)
- Size and care details
- Shipping and processing time (realistic window)
- Return/Exchange policy summary
- FAQ link / process explanation (how it was made, rights, commercial usage)
I save this template in a Google Doc and use a script or a listing tool to populate fields like SKU, price, shipping, and the AI disclosure. That removes human error and keeps me compliant with the Etsy AI rules about disclosure location and content.
Licensing check and recordkeeping routine
Before I hit publish I run a three-step licensing check. First, confirm my model account grants commercial use. Second, verify any reference images or stock assets have commercial licenses. Third, export a record: prompt text, model/version, generation timestamp, and file versions. I store these in a dated folder per design. If I change a model or tool, I note that in the record. This habit has saved me once when a buyer questioned origin because I could show the whole edit history.
A practical record format I use (one-line CSV or sheet per design) includes:
- SKU
- Title
- Model used + version
- Prompt filename
- Generation timestamp
- Editing software + edit timestamp
- Production partner
- License proof location (link to cloud file)
- Status (live/removed/revoked)
This makes audits and quick responses tiny tasks, not multi-hour nightmares.
How I price with fees in mind
I always model landed cost before pricing. My formula is: POD base + shipping + $0.20 listing fee + estimated payment processing (~3% + per-transaction fixed) + 6.5% transaction fee + Offsite Ads allocation if applicable. For posters, Printshrimp gives a base that often lets me price an A1 at £34.99 with a £10–£25 profit per sale. For smaller items like tees I aim for a net of $8–$12 depending on volume. Price too low and you destroy margins; price too high and conversion drops. I test mid-range prices first, because Etsy buyers shop on impulse and mid-range tends to hit the sweet spot.
I also keep a simple calculator in a spreadsheet that I copy for each SKU. Column layout:
- A: Item type
- B: POD base price
- C: Shipping
- D: Etsy listing fee
- E: Etsy transaction fee
- F: Payment processing fee
- G: Offsite ads allocation
- H: Tax estimate (varies by market)
- I: Desired net margin
- J: Suggested price = SUM(B:H) + desired margin
This keeps pricing rational and repeatable.
Quarterly audits and automation
I audit live listings quarterly for correct disclosure and license compliance. If a model ToS changes or I upgrade a subscription, I update disclosures in bulk. This is where automation matters; a manual audit across 500 listings is impossible. That is exactly why we built Artomate — to automate the mockup-to-listing pipeline and keep disclosure templates consistent across mass uploads. Automation saves hours and reduces the risk of missing a disclosure when you scale.
My quarterly audit checklist:
- Random sample 10% of live listings and confirm disclosure line exists
- Verify model terms haven't changed for models used in the last 90 days
- Confirm production partner info still valid and shipping estimates accurate
- Re-run price model for top 20% sellers to confirm margins
- Update any listings that reference deprecated models or outdated terms
Automation tools often provide logs and templates to conduct these audits faster. If you don't have a paid tool, a custom Google Sheets + Zapier or Make.com flow can catch missing disclosures and send a report.
Recordkeeping and provenance: what to save and why it matters
The files I keep for every design
For every design I save the prompt text, model name and version, generation timestamp, raw outputs, the file I edited in Photoshop or Illustrator, and export metadata. I also keep a small readme.txt noting what I did: pasted layers, removed elements, custom typography added, and which production partner prints the final item. That level of detail takes a few minutes per design but it matters because it documents human contribution and the commercial rights chain.
I recommend a folder layout like this for each SKU:
- 001_PROMPT.txt
- 001_RAW_01.png
- 001_RAW_02.png
- 001_EDIT.psd
- 001_FINAL.png
- 001_README.txt
- licensing_proof.pdf (screenshot of ToS or invoice)
This structure is simple and searchable. If Etsy or a third party requests provenance, you can bundle a ZIP and share it quickly.
Metadata and provenance tools I use
Provenance tech like C2PA and SynthID is arriving across providers, and I embed provenance where possible. When a model outputs a file with an embedded fingerprint I export a copy that keeps that metadata. If I do heavy editing I keep both the original model output and the final file so I can show the evolution. For quick searches I tag records with the product SKU, the primary keyword, and the model used. This makes audits fast and defensible.
If you want to be future-proof, start embedding simple metadata now: author, creation date, tool names, and prompt snippet. Many asset management tools let you bulk-write metadata fields. This helps both with internal audits and with legal defensibility.
Retention policy and storage
I keep records for at least five years per design unless the design is a one-off that flops quickly. Storage lives on a cheap cloud bucket with a local copy. The redundancy has helped: I once needed to prove a copyright chain after a buyer claimed a design was copied from another shop. The records showed the original prompts and edit timestamps and resolved the dispute without escalation. You might not need that every day, but when you do, you've saved time and money.
Retention nuance: if you sell internationally and have significant EU customers, you may want to err on longer retention windows, as claim windows can vary. Keep in mind storage costs are low compared to the time litigation or disputes can cost.
Tools and partners I actually use (and why)
Model picks that work for production
I use Tier-1 models because they produce predictable output and the licensing is clearer. My go-to list is GPT Image 1.5, Nano Banana Pro, Nano Banana 2, Nano Banana original, and Seedream 5.0 Lite. These models give me control over composition, handle text and typography much better than older models, and have commercial terms that align with a POD workflow. I avoid Midjourney, Adobe Firefly, and DALL·E 3 as primary picks because they don't fit our production needs or licensing preferences.
Note: model landscapes change fast. Keep a watchlist of model ToS changes and subscribe to providers' update feeds. I check provider change logs monthly as part of the quarterly audit so I don’t get blindsided by new restrictions.
POD partners and why Printshrimp is my poster pick
For posters I prefer Printshrimp. Their A1 pricing, which includes shipping, often lets me price A1 posters at market rates while still netting £10–£25 profit. Their paper options and same/next-day dispatch across UK, EU, US, and Australia reduce shipping complaints and refunds. For other SKUs I fall back to Printful or Printify depending on a specific SKU or regional need, but for posters Printshrimp is usually the margin winner.
When choosing POD partners, check these criteria:
- Production cost and shipping model for your primary markets
- Print quality and paper options
- Regional fulfillment locations to reduce shipping times and taxes
- Returns policy and dispute handling
- Integration options (CSV/API) for bulk uploads
I test a new POD partner with a small limited run to confirm quality before switching over an entire catalog.
Automation and mockup workflow
I make a lot of mockups. High-quality mockups increase conversion, and conversion drives Etsy SEO. I use an automation pipeline that generates mockups in bulk, applies templates, and prepares listing images quickly. For bulk listing and templated descriptions, I rely on automation tools to avoid manual errors. If you upload more than a handful of listings a week, automation pays for itself — which is why I built Artomate to handle mockups, SEO templates, and bulk uploads. It keeps my disclosures consistent and my mockups looking professional without me doing repetitive work.
Mockup tips that boost conversion:
- Use a primary image with a clear product-only shot plus a lifestyle scene
- Keep composition consistent across your shop so thumbnails read well in search
- Use neutral backgrounds for the first image and lifestyle for the second image
- Add a small unobtrusive text overlay with the size and key selling point (not the disclosure)
Automation also helps ensure the Etsy AI disclosure line is always included in the template applied to listings.
Pricing, fees, and where profit hides in POD Etsy sellers
The fee math I run for every product
You need to know your break-even to avoid surprise losses. My usual calculation is: POD base cost + shipping (if separate) + $0.20 listing + 6.5% transaction fee + payment processing (~3% + fixed) + offsite ads allocation (if you’re running them). For example: a poster with a Printshrimp base of £11.49 (A1, shipping included) listed at £34.99 gives gross margin before fees of £23.50. After Etsy’s ~10% practical take and payment processing, you land with roughly £20. A1s commonly give me £10–£25 net depending on size and price. That difference is where profit lives.
Remember to include returns and refunds as a buffer. I typically set aside 1–3% of revenue as a contingency for returns, which I track monthly and adjust if my return rate changes.
Pricing strategy and conversion testing
I price to balance margin and conversion. For posters I test prices in £/€/$ increments — starting conservatively at a mid-point like £34.99 for A1 — and watch conversion and ad spend. For tees and smaller items I often test £24.95–£29.95 because that’s where buyers still feel like they’re getting value. If a design is selling, I try small increases to see if revenue rises without killing conversion. If sales drop, I revert. Price testing is how I squeeze out incremental profit without guessing.
A/B test ideas:
- Price vs. shipping: increase price and offer free shipping vs. lower price + separate shipping fee
- Mockup lighting: bright vs. moody lifestyle shots
- Disclosure placement: first paragraph vs. FAQ (always keep disclosure present but test small copy differences)
Make changes gradually and track over at least 2 weeks for statistical relevance on most products.
Accounting for Offsite Ads and ad attribution
Offsite Ads can take 12–15% on attributed orders. If your shop gets most of its traffic from Etsy search rather than offsite ads, the impact is smaller, but you must model for worst-case. I allocate a modest offsite ad buffer in my pricing model if I’m running Pinterest or Google Shopping, and I watch which orders get attributed. It’s tedious but necessary because a single attributed order can change the net profit on a sale significantly.
If you’re a low-volume shop, consider opting out of Offsite Ads if enough of your sales are being attributed and it’s hurting margins (check Etsy settings and eligibility). For high-volume shops it's often still worth it for the traffic gains — but always model attribution impact.
Etsy SEO 2026 and the mass-listing strategy that actually works
Why volume matters: Etsy mass listing strategy explained
Etsy still rewards volume. More listings mean more keywords indexed and more chances to be found. My best shops run hundreds to thousands of listings because the algorithm gives weight to shops with breadth and activity. That doesn't mean spam low-quality listings. It means systematize creation so you can test variations at scale: different mockups, slightly different titles, and variable tags. The winners pay for the losers.
A few concrete tactics for mass listing without losing quality:
- Reuse the same high-quality mockups and swap the artwork layer to speed uploads
- Keep a core 10-image template for product photos across a product family
- Use automation to populate titles and tags based on a keyword matrix
- Schedule uploads so new listings are added at times Etsy's algorithm prefers (experiment for your market)
This is how you get the reach needed without spending disproportionate time on each listing.
Conversion-first SEO tactics I use
I focus on conversion signals. I write titles with the most relevant words first, populate all attributes, use all 13 tags sensibly, and make sure the first image and thumbnail are mobile-optimised. I put the disclosure line in the first paragraph where it’s visible and still keeps the buyer flow moving. Short listing videos and lifestyle mockups increase click-through. I track impressions→clicks→cart→conversion to find drop-off points and iterate on the images or shipping promises that hurt conversion.
Tag strategy example:
- 3 primary tags: the main product + style (e.g., "botanical poster" "surreal poster" "plant art")
- 4 secondary tags: format and use case (e.g., "A1 poster" "wall art" "gallery print" "gift for plant lover")
- 6 long-tail tags: geography, occasions, niche descriptors (e.g., "cottagecore wall art" "eco home decor" "nursery botanical print")
A quick note: include keywords related to AI only where truthful and helpful. Use the Etsy AI disclosure line for compliance rather than stuffing titles or tags with "AI" as an SEO tactic — that can confuse buyers and doesn't materially improve search placement.
Scaling listings without breaking compliance
Templates are your friend. I use SEO description templates that include placeholders for disclosure, production partner, material, and shipping. Automation tools let me push templates across many listings so disclosure never gets forgotten. If you automate mass uploads, keep an audit schedule. Quarterly checks catch any template mismatch or accidental omission. This is how you scale quickly without catching surprises later.
If you’re outsourcing listing creation to a VA or agency, require them to follow a checklist and include a review step before publish. Make the Etsy AI disclosure and licensing checklist non-optional in your SOP.
The most common mistakes sellers make and how to avoid them
Mistake: no explicit Etsy listing disclosure
Many sellers think disclosure is optional because enforcement has been spotty. That’s wrong. Lack of disclosure is a breach of the Creativity Standards and damages buyer trust. I always add a concise disclosure line to every listing that used AI. It takes seconds and avoids the pain of a flagged listing.
If you inherit another shop or buy listings from a third party, audit every listing and update disclosures where needed. Sellers often miss this during transitions.
Mistake: ignoring AI image licensing
Sellers assume outputs are free to sell. They’re not always. Free tiers can restrict commercial use. I check my account tier and the model ToS before listing. If the model’s terms are unclear, I either upgrade to a paid tier that grants commercial rights or don’t use that output.
If you get a notice, don’t panic. Pull the listing, replace or re-create the artwork with a compliant model, and reply to the buyer or Etsy with evidence of the fix. Quick, transparent fixes are often accepted without escalation.
Mistake: selling prompt packs and risky IP
Prompt packs have attracted enforcement. Don’t build products out of prompts alone. Also avoid generating trademarked characters, famous likenesses, or logos unless you have a license. Those are fast routes to takedowns, and no amount of good SEO will save you from legal risk.
If you sell prompts, clearly state they are idea starters, not guaranteed to reproduce specific proprietary styles or copyrighted characters. Better: bundle prompts with guidelines on how to use them ethically and legally.
Mistake: poor mockups and slow shipping promises
Low-quality mockups and unrealistic shipping times kill conversion. I use high-quality lifestyle mockups and state realistic dispatch times to reduce refunds and disputes. Buyers may forgive AI in the process, but they won’t forgive poor delivery or misleading photos.
A/B testing shipping messages helps: "Dispatched in 1–3 business days" performs better than "Ships quickly" because it sets precise expectations.
Final Thoughts
Etsy’s AI disclosure policy is simple to follow if you build a system around it. Disclose clearly, verify commercial rights, save prompts and edit history, and automate where you can to avoid human error. The practical risks — takedowns, IP disputes, licensing breaches — are real but manageable if you adopt a consistent routine. Scale matters on Etsy, so use templates and automation to keep disclosures correct across hundreds of listings. Small habits I’ve kept in my shop — a short disclosure line, monthly ToS checks, and a five-year recordkeeping policy — have saved me headaches and kept margins healthy. Be honest, be organized, and keep iterating on what converts. That’s how you turn AI tools into reliable revenue without inviting unnecessary risk.
If you want a quick starter checklist to implement today, here's a condensed "Do This Now" list:
- Add an Etsy AI disclosure line to every listing that used AI and keep it in the first paragraph.
- Save prompts, model/version, timestamps, and edit files in a searchable folder for each SKU.
- Verify your model account grants commercial use before listing.
- Include production partner info in the listing description and in shop FAQ.
- Set a quarterly audit calendar and automate disclosure templates where possible.
Following these steps keeps you aligned with the AI art Etsy policy and Etsy AI rules, satisfies AI disclosure requirements, and — importantly — keeps your storefront running smoothly so you can focus on designs that sell. As laws and platform policies shift, stay curious and update processes rather than hoping enforcement won’t find you. It’s easier to be proactive than reactive.

George Jefferson
Founder of Artomate
George has generated over £100k selling AI-generated posters on Etsy and built Artomate to automate the entire print-on-demand workflow. He writes about AI art, Etsy strategy, and scaling a POD business.
Learn more about me →